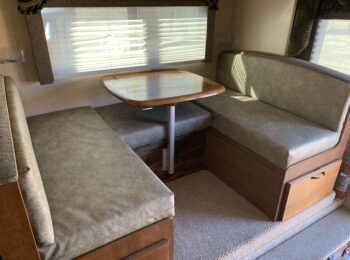
On our last trip out, we were caught in a severe storm in Indiana. They were calling for high wind, torrential rain, possible tornadoes and hail. Being from a high-altitude town in Colorado, our hail stays tiny and we don’t have to worry about tornadoes. We decided to put the jacks down on our truck camper to stabilize a bit against the wind. Usually we disconnect our Torklift Fastguns, but it was raining hard and we wanted to just barely touch the ground with the feet of the jacks, not do any leveling or anything. So we set the jacks down lightly and then decided to close the slideout. Apparently, we got the remote control a little wet and everything went haywire. The driver’s side front jack started extending, and extending, and extending…eventually jacking the camper and the truck up and starting to tilt everything. I managed to get it stopped, but the remote was “toast” after that. So we used the manual crank to retract that jack and spent the rest of that trip opening and closing the slide with the manual crank.
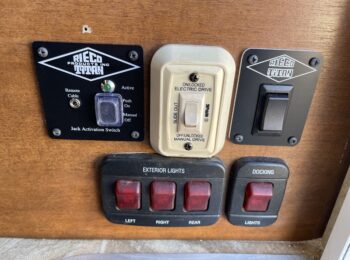
Once we got home, I started researching repair or replacement options. Our camper is a 2014 Lance, and had Attwood jacks and a “Generation 2” control board and remote. Lippert bought out the Attwood line and promptly discontinued it, leaving no option to just replace the remote. I found three options, and all required replacing the control board. Lippert suggested switching to their HappiJac board and remote. The Lance forums suggested buying an American Technologies board and remote. The third option was a Rieco-Titan board and remote. I chose the last option because it had the best reviews, two remotes (including an “emergency” one), could run the slide with the remote, and could also include a hardwired switch for the slide. Also, if we ever need to replace the jacks, their jacks have the same hole pattern as the Attwood and could directly replace one or all four jacks. I made a call to RT, and they shipped out the unit and a required breaker right away. Not going to lie, the $700+ price tag took my breath away, especially after spending a bunch of money updating the electrical system in the camper a couple of months ago. Unfortunately, the unit was much larger than the old one, and needed to be relocated. I labeled the original wires and crimped step-down butt connectors and heat shrink and extended the wires to a spot under the kitchen sink. I bought 8 AWG duplex wire because that was what was required to power the system. In hindsight, I would have bought a small amount of 8-gauge wire and done the rest in 10-gauge, as the instructions called for. It was hard to route that larger wire and it was hard to crimp connectors on.
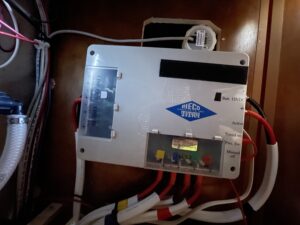
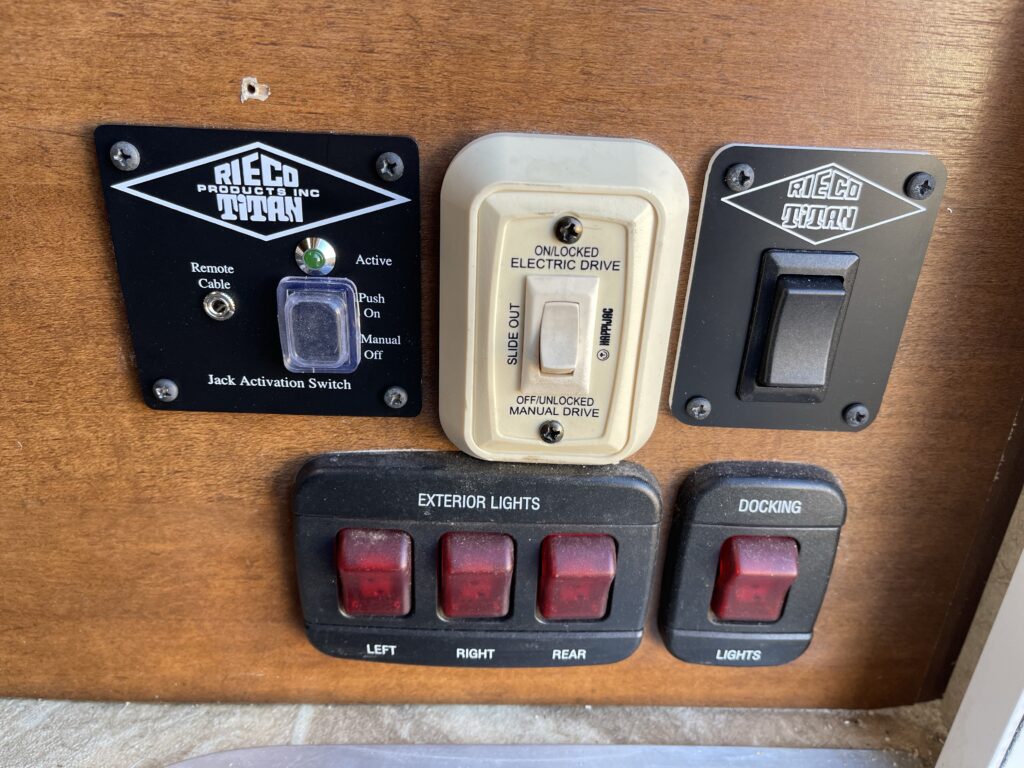
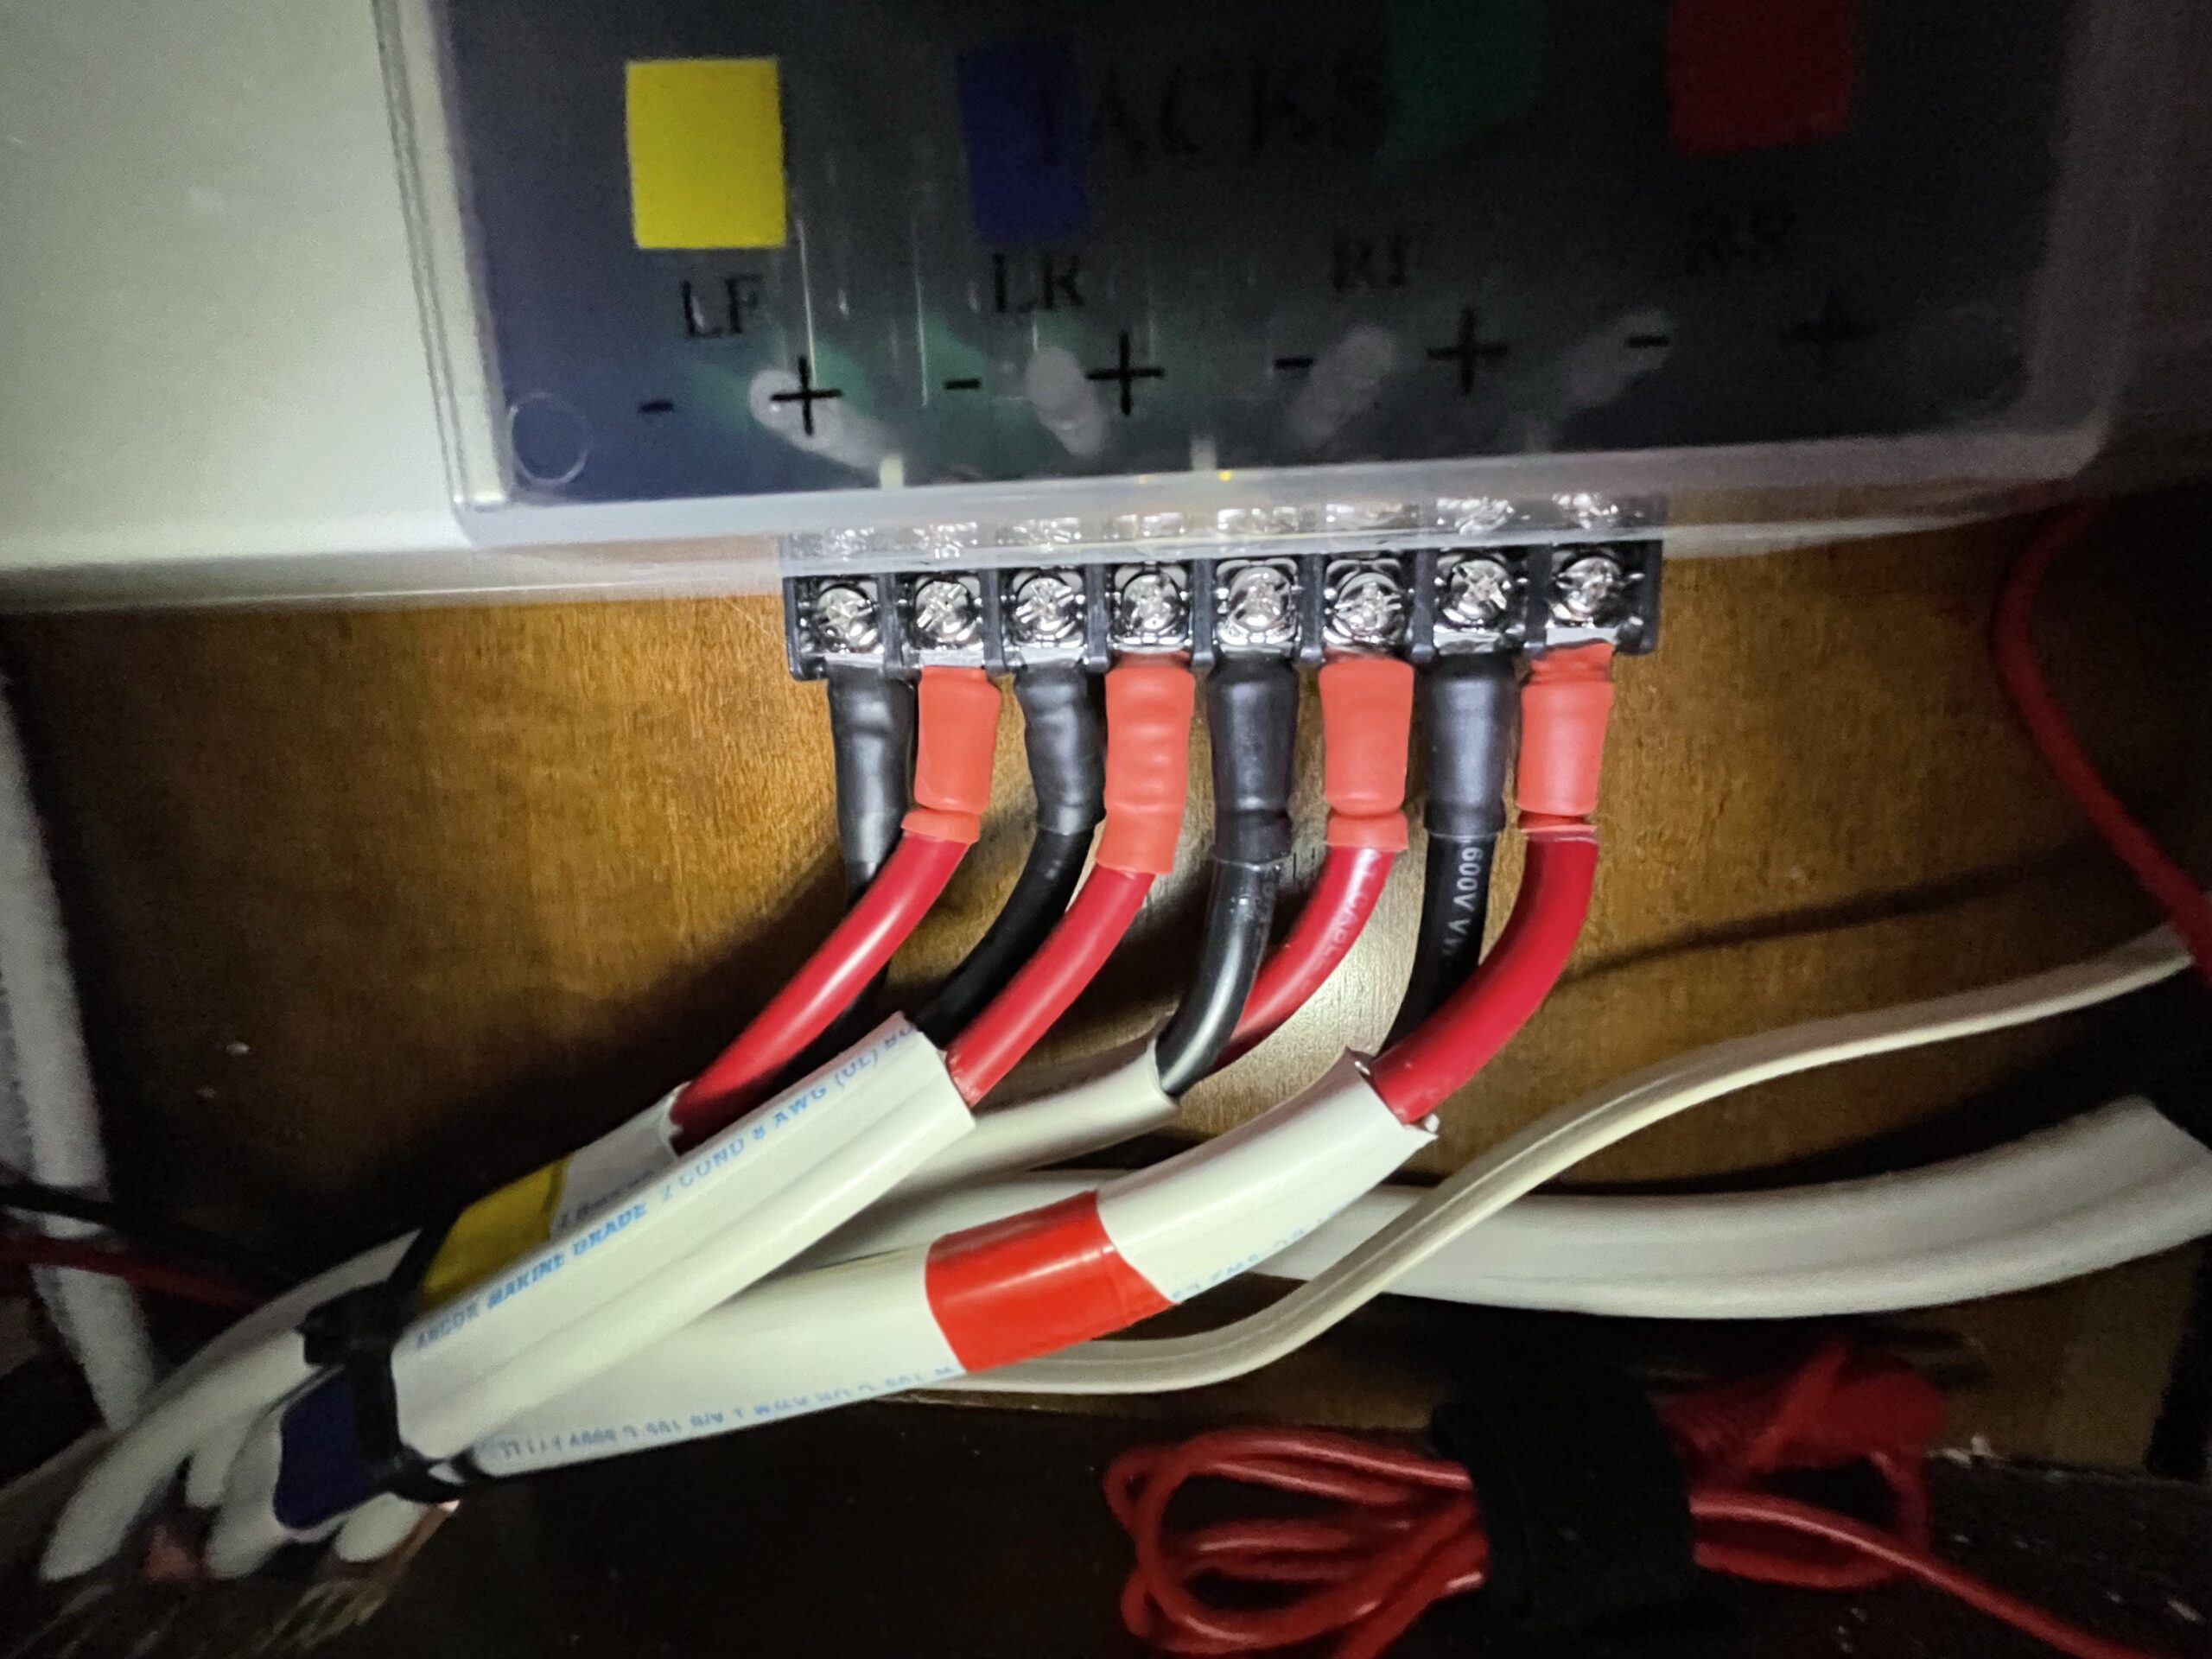
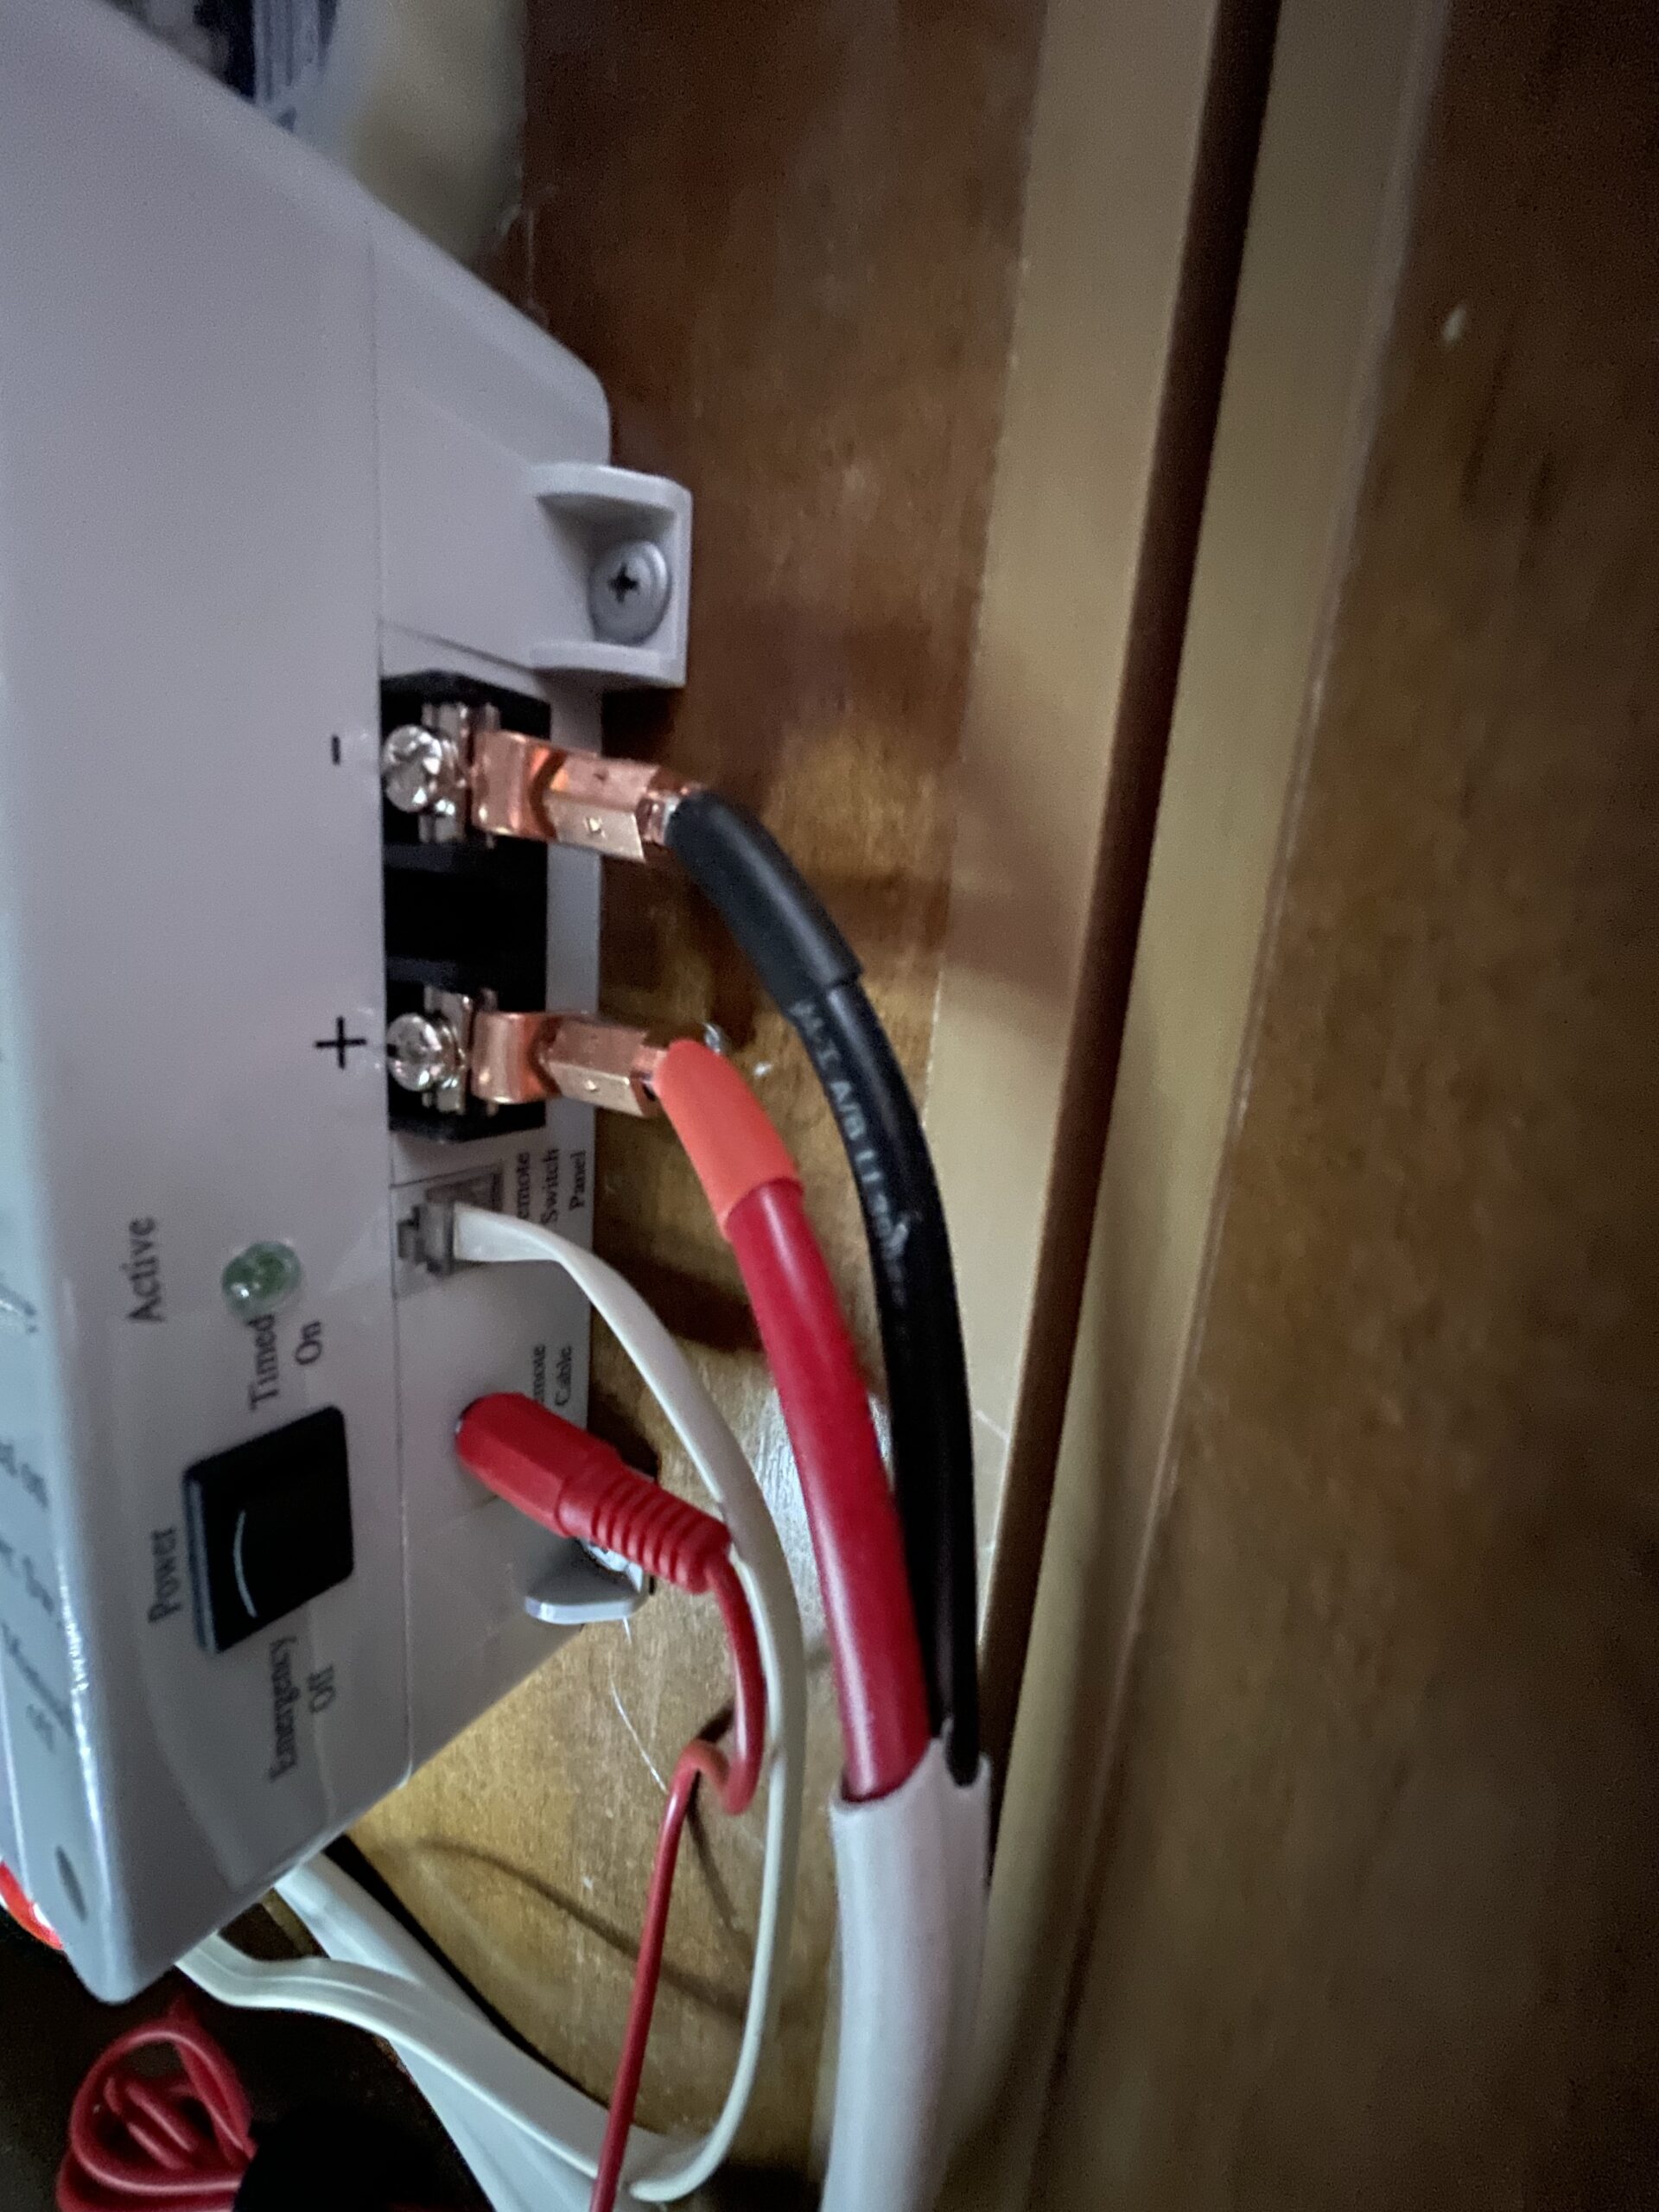
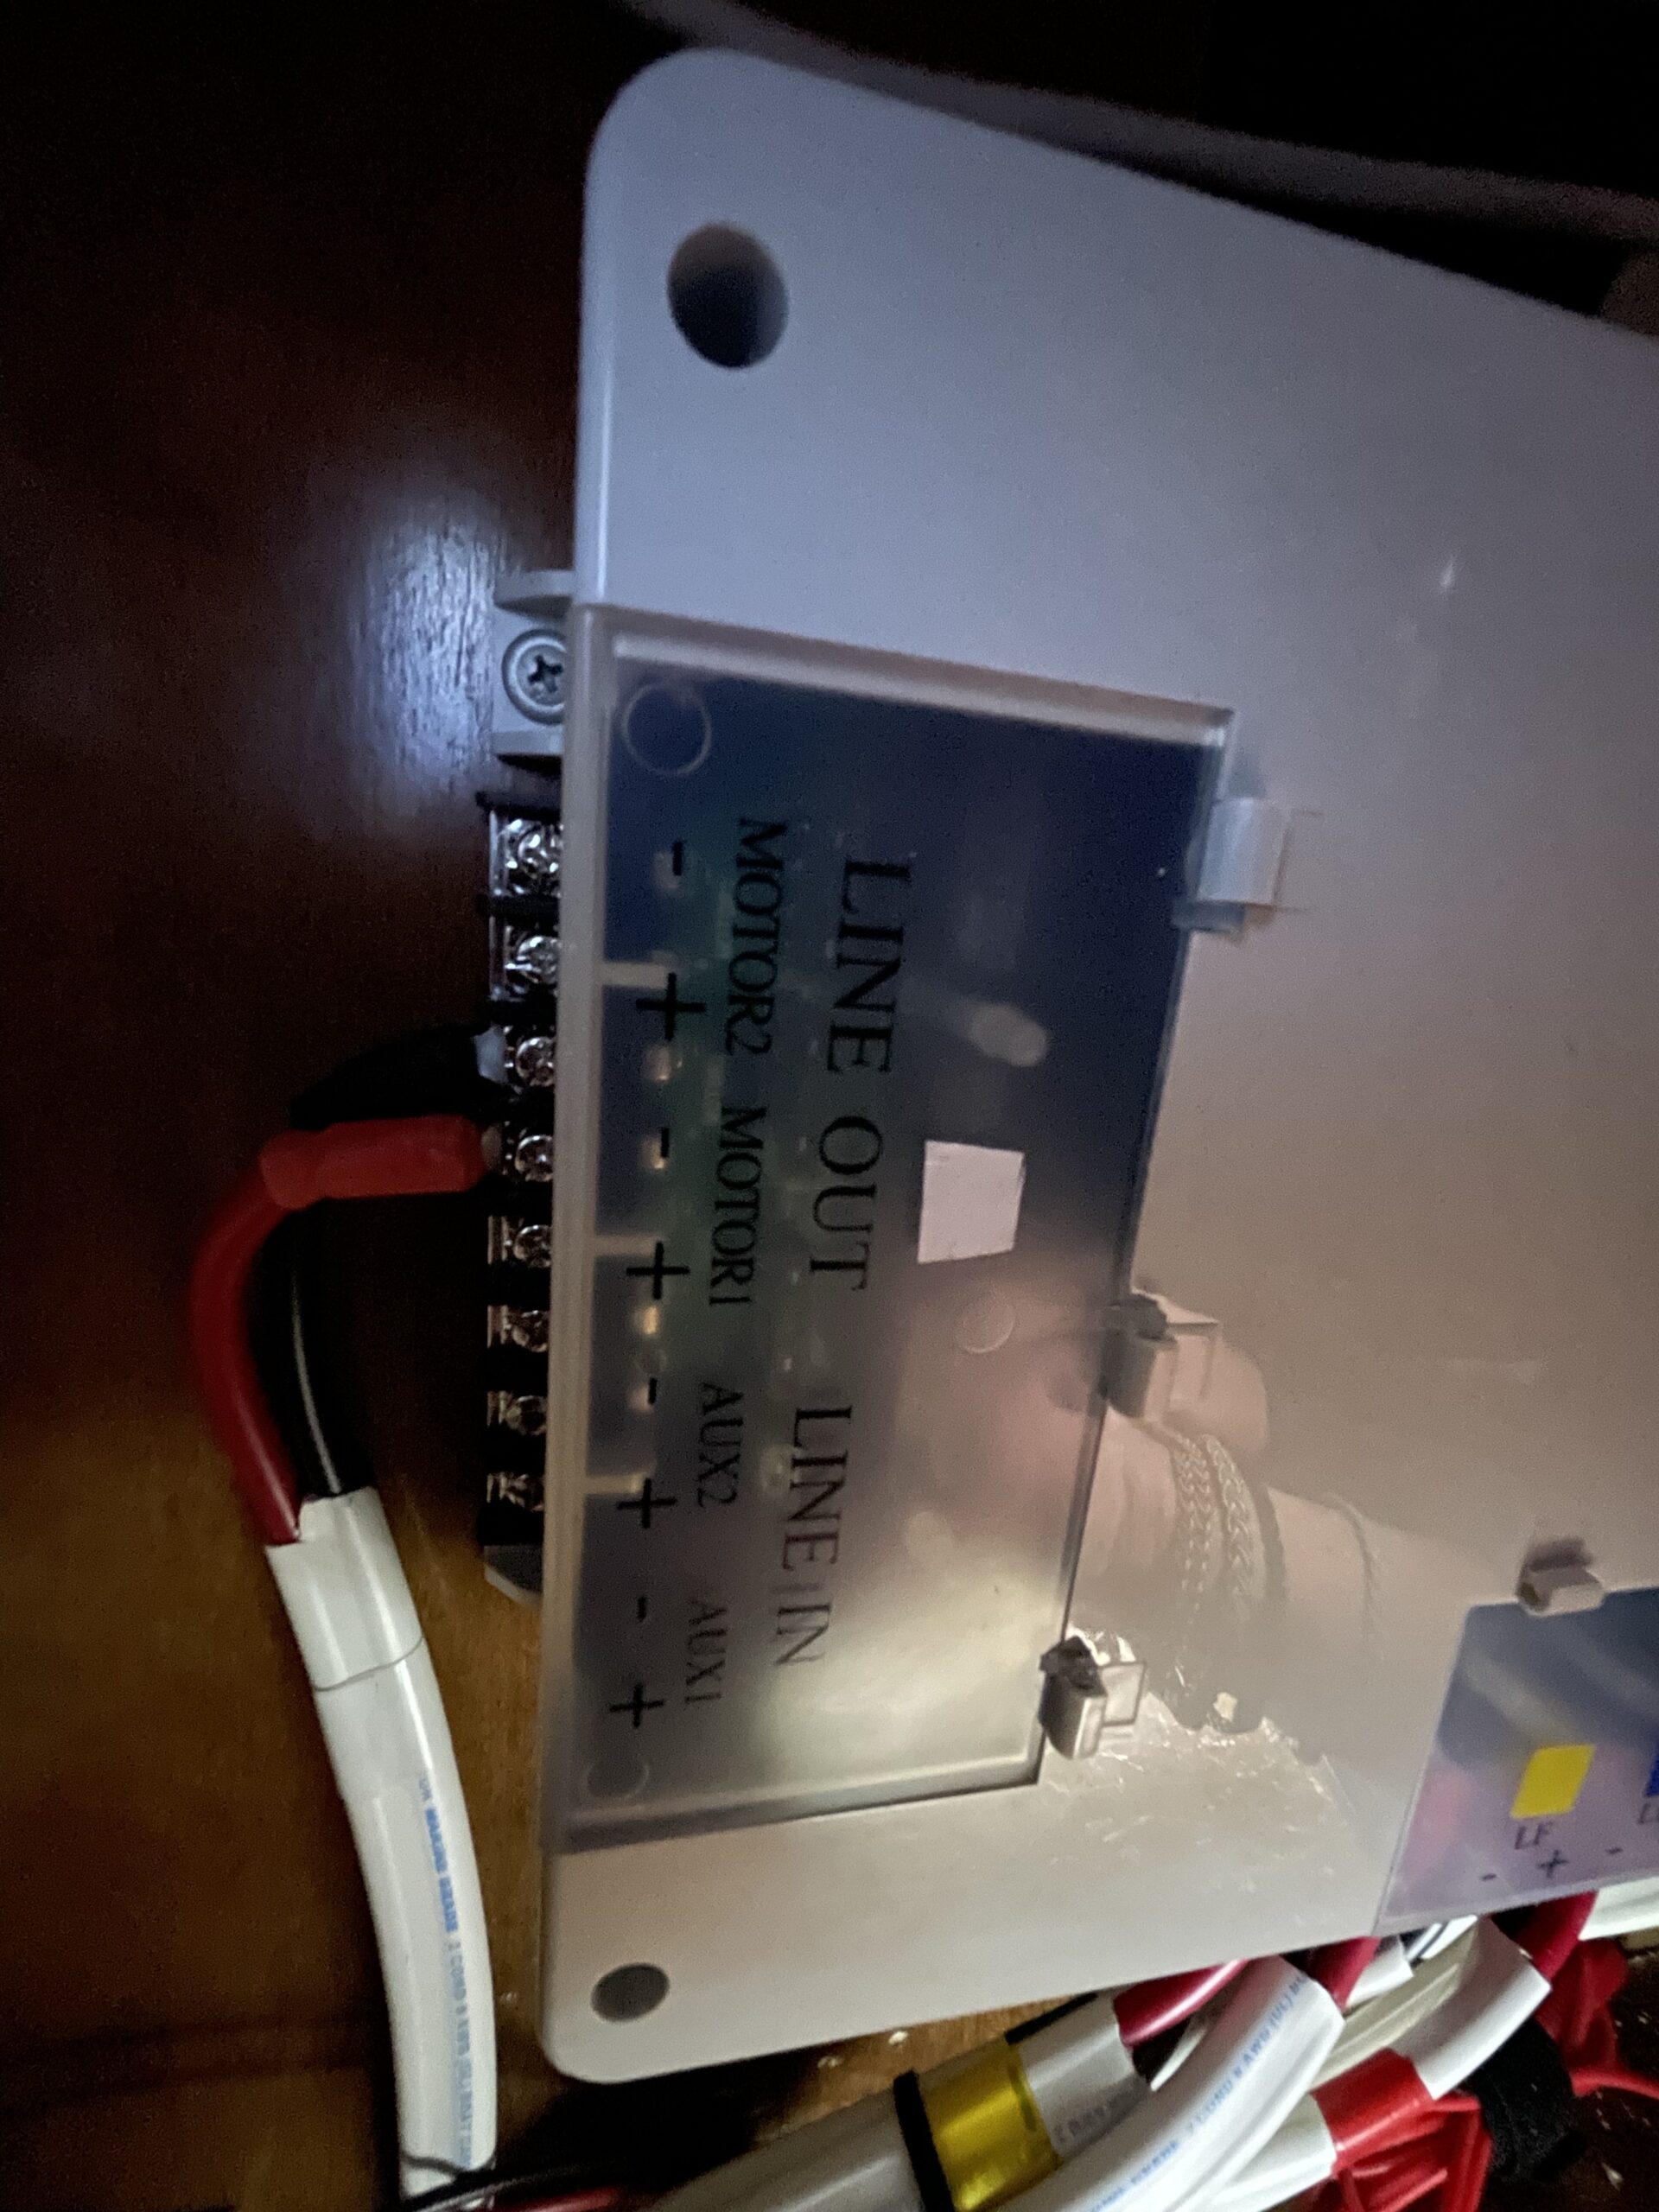
I used spade connectors on the jack connections and offset mechanical lugs (from Home Depot) for the power connection. Basically I just followed the instructions and connected the wires as they had been on the previous power board.
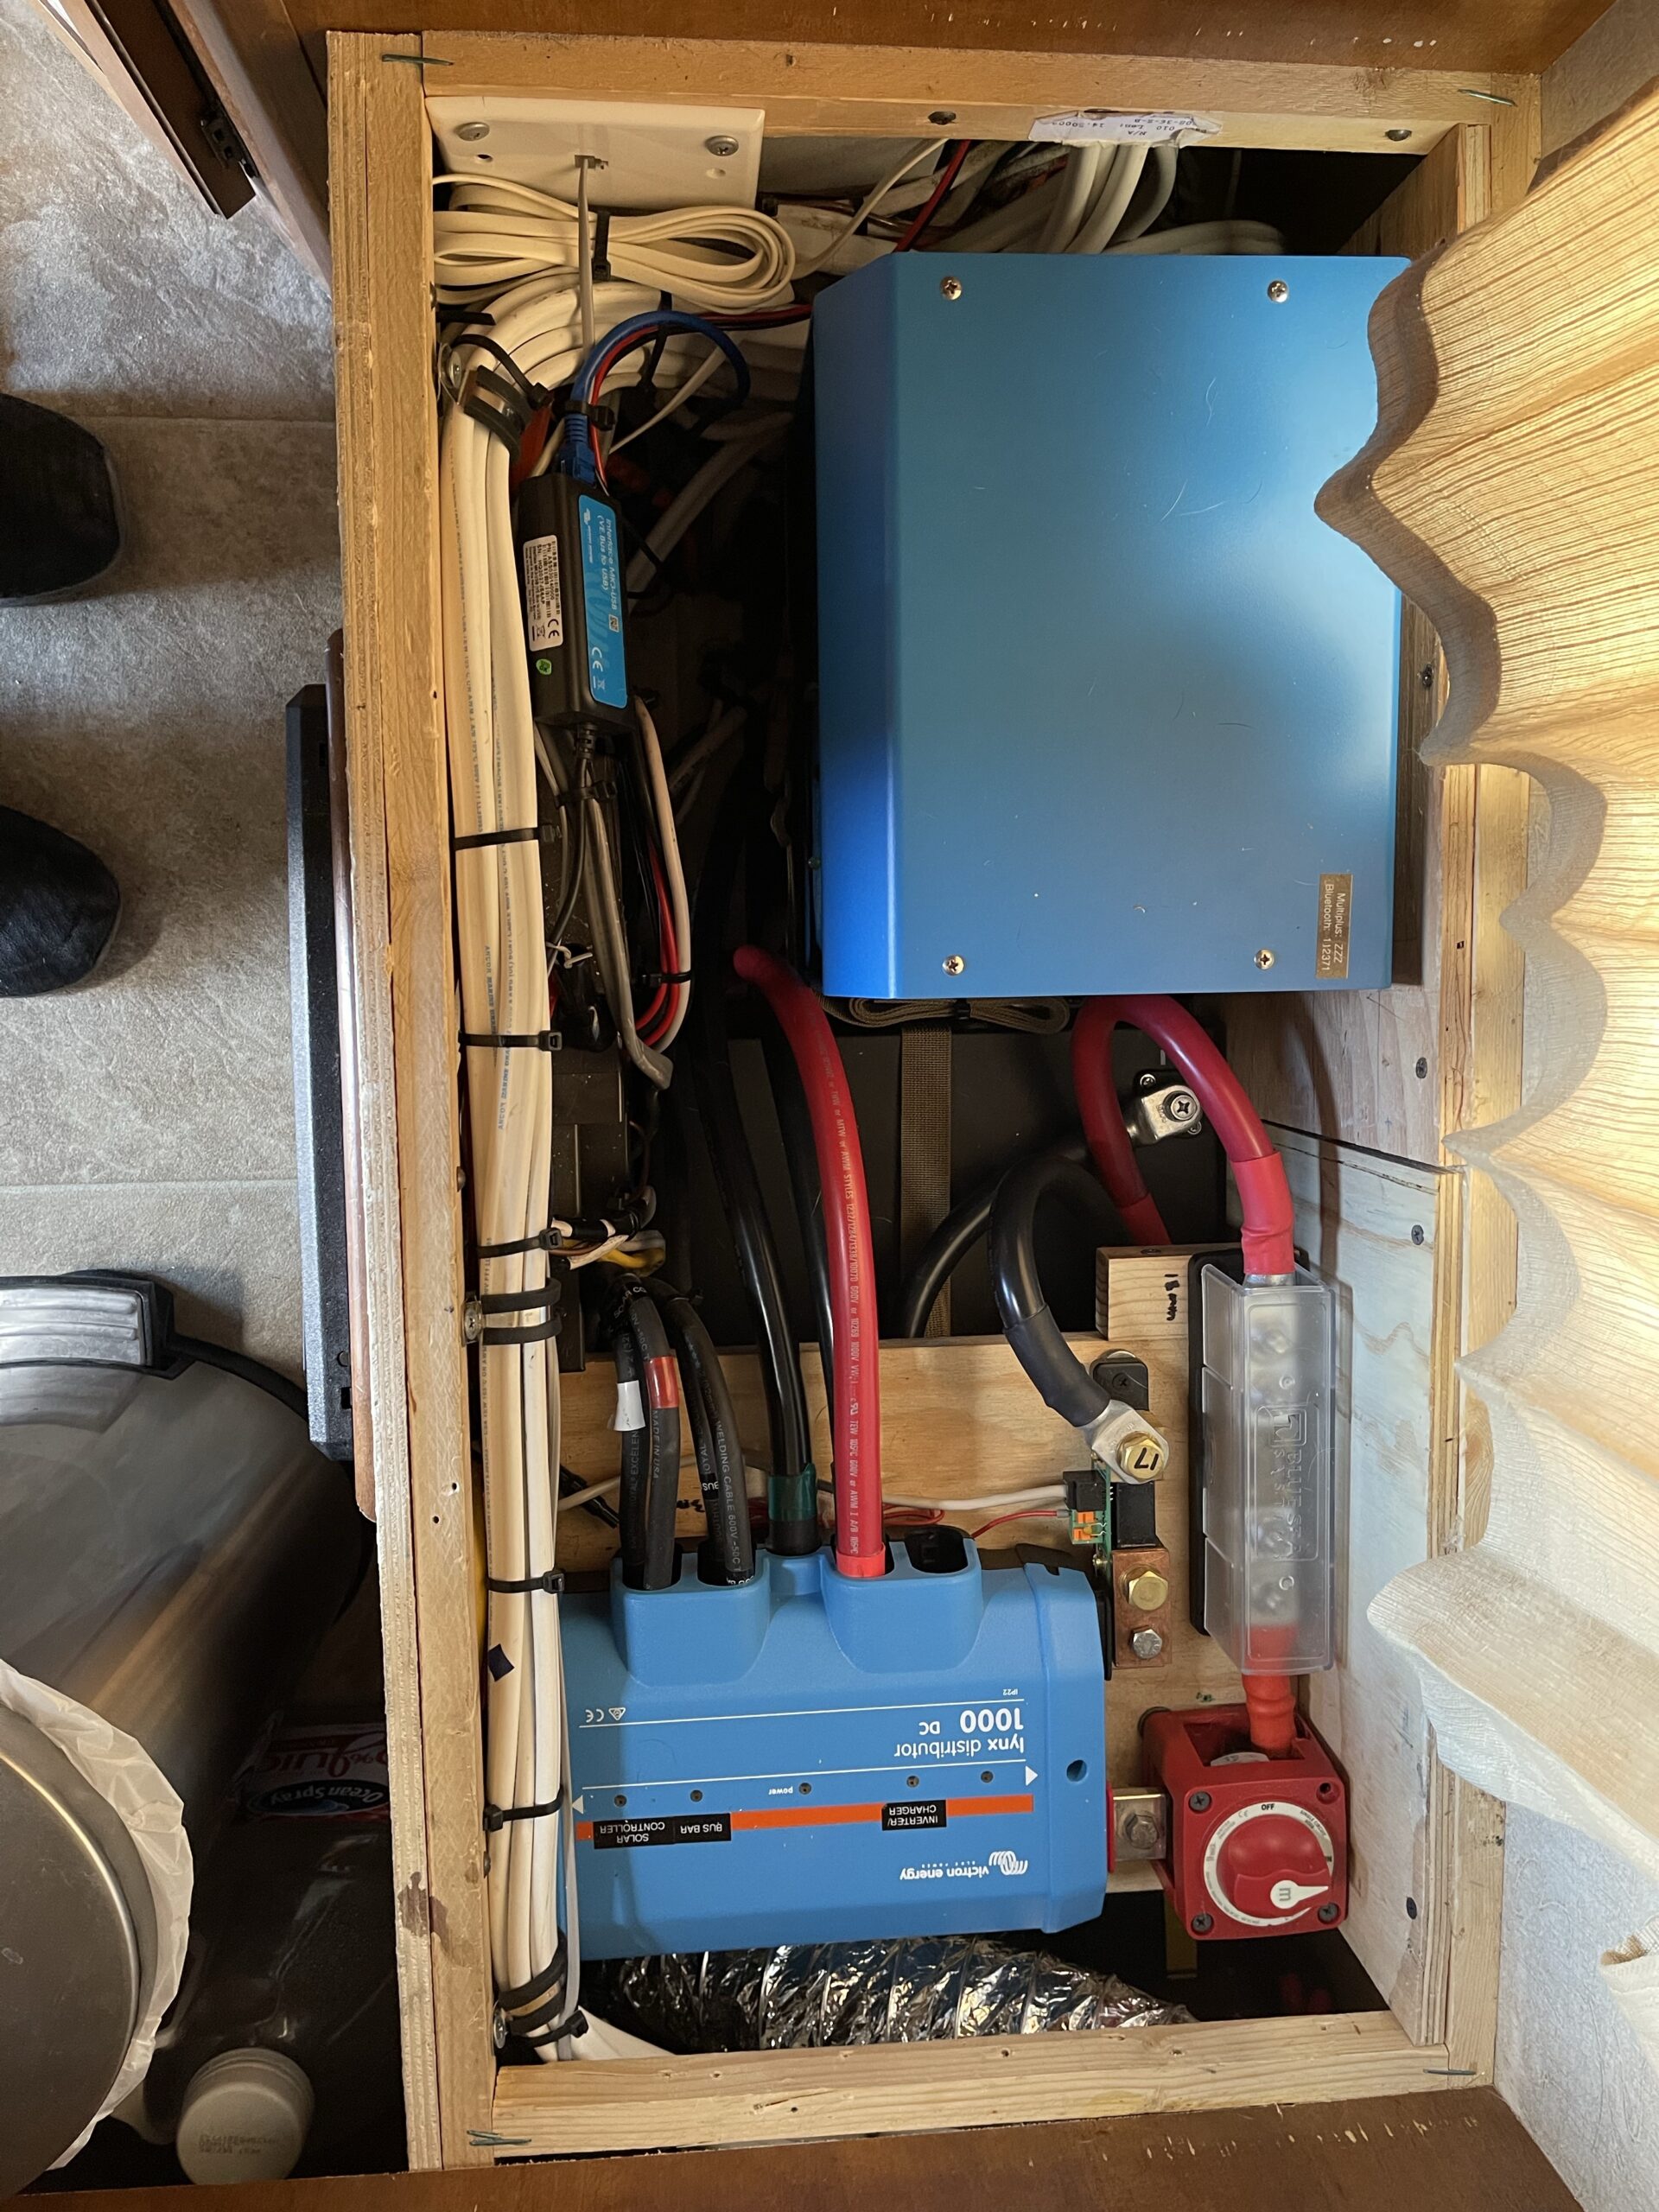
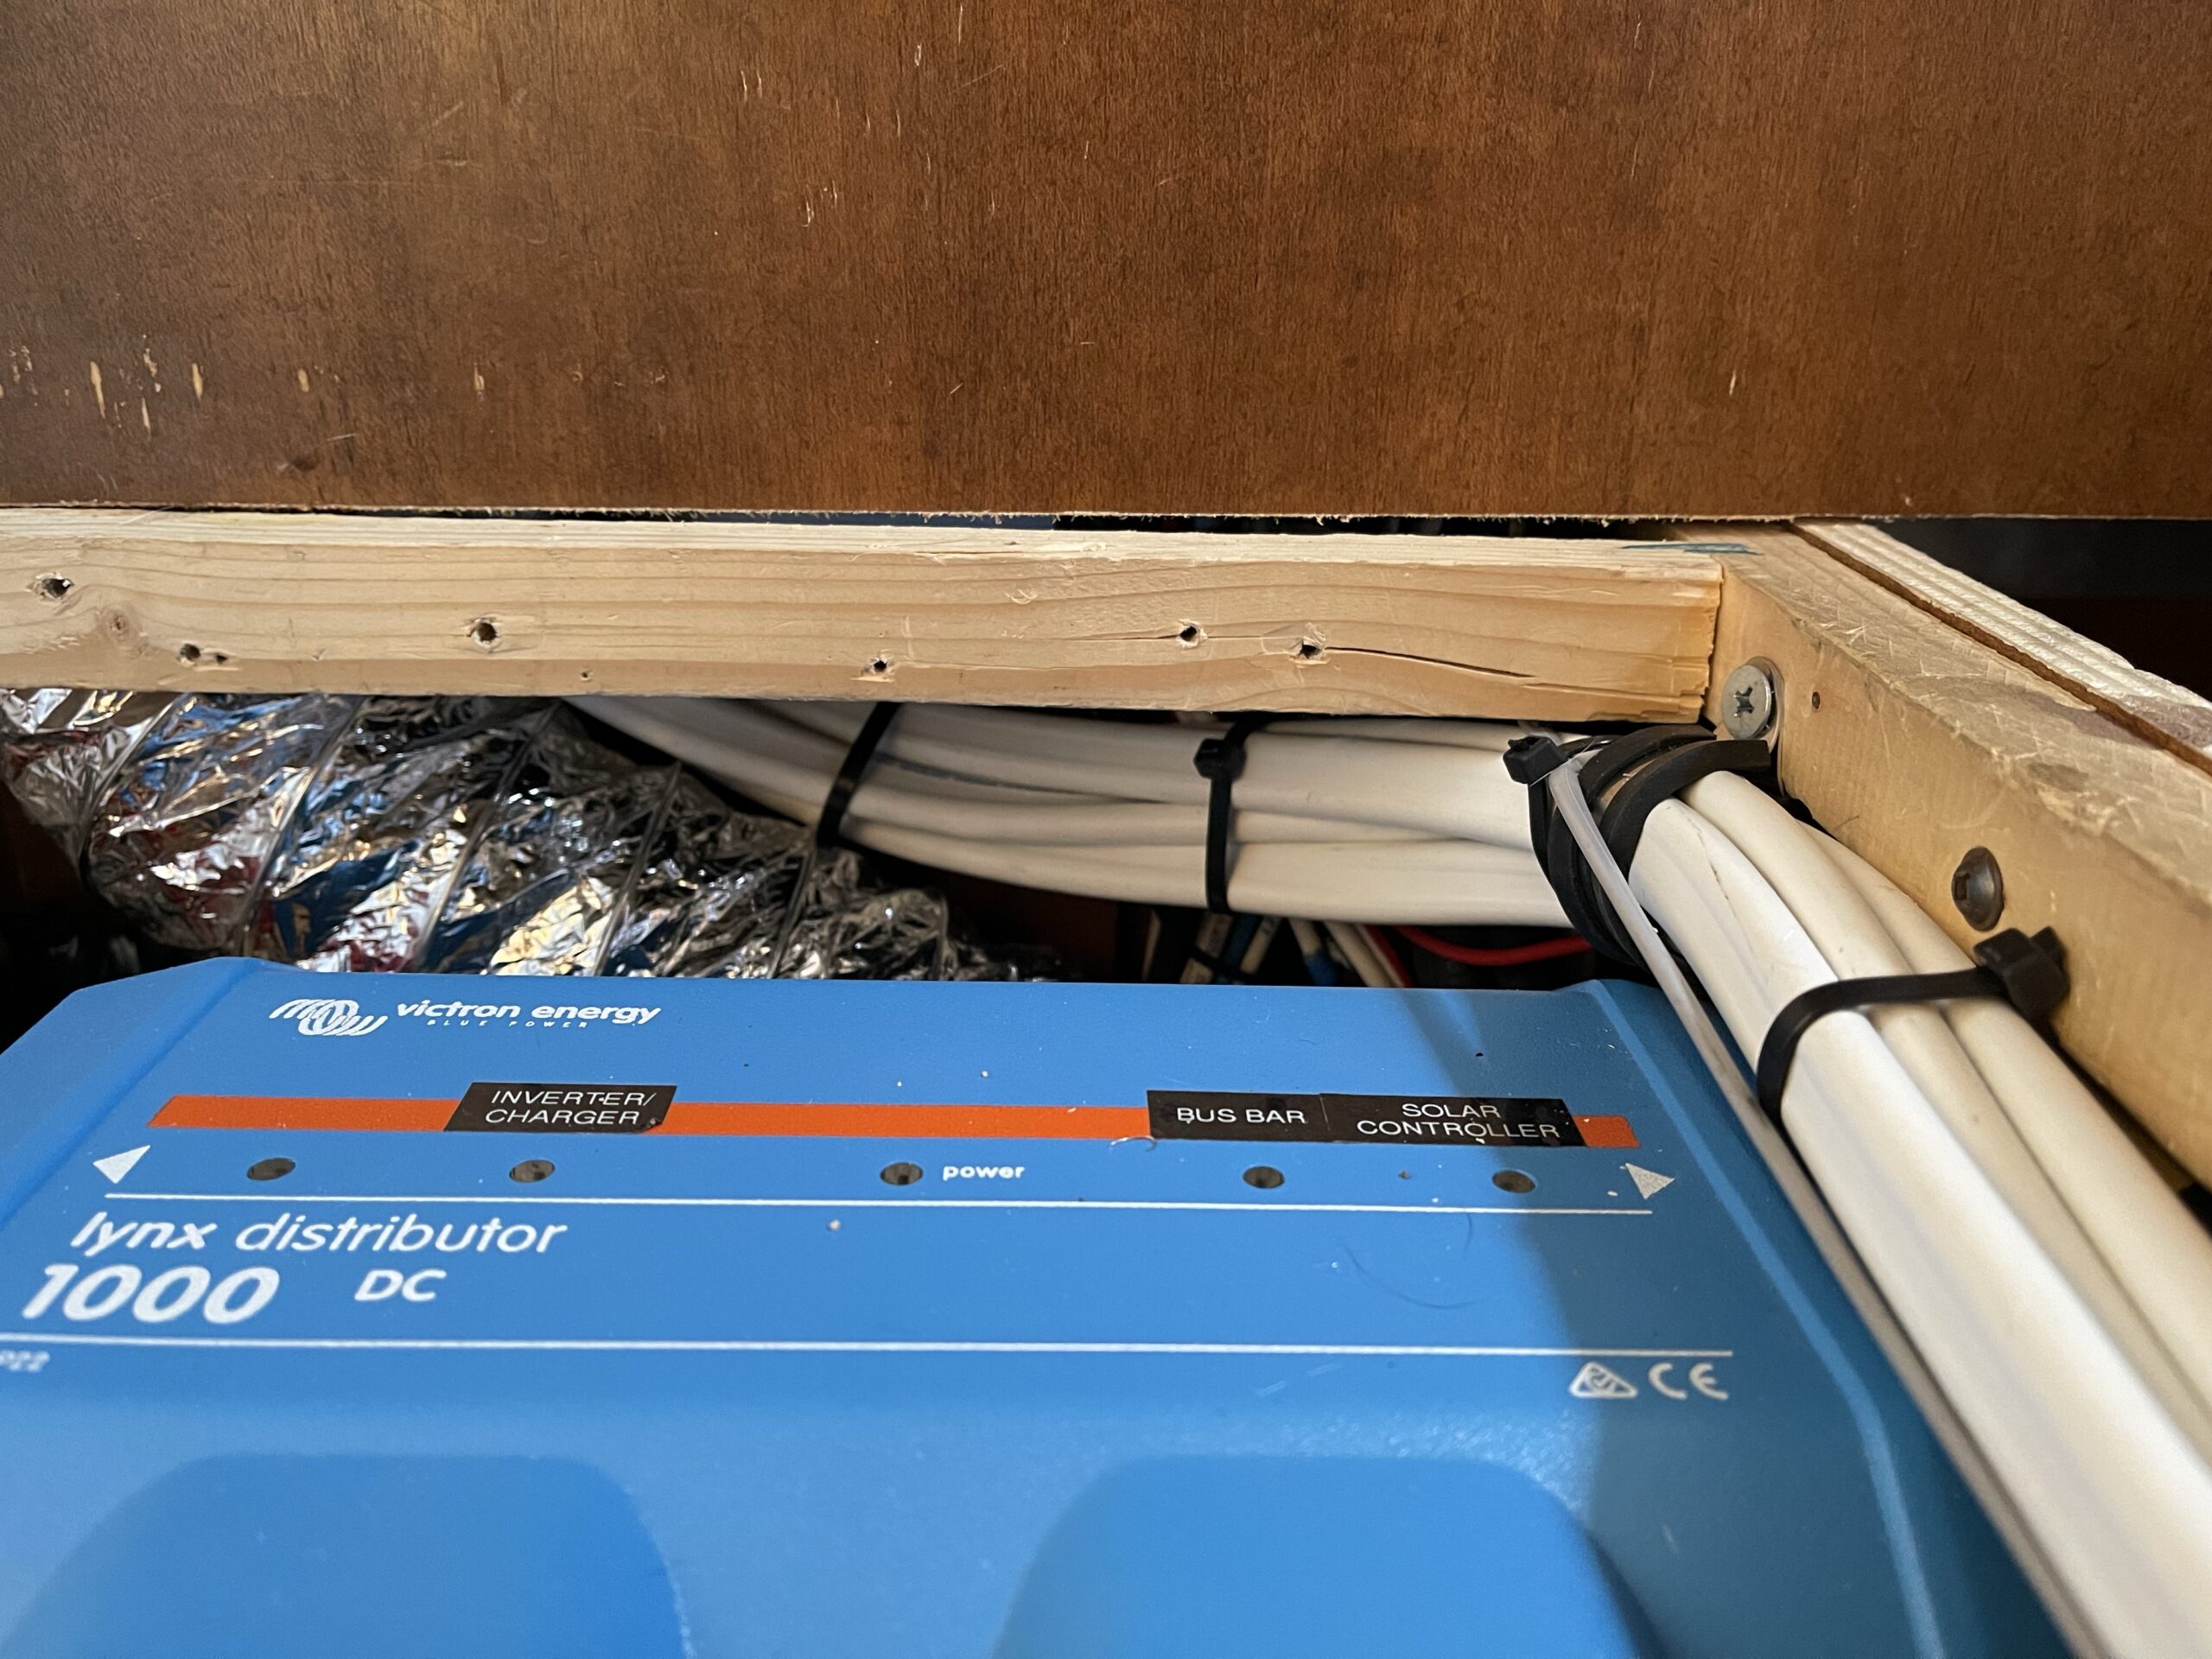
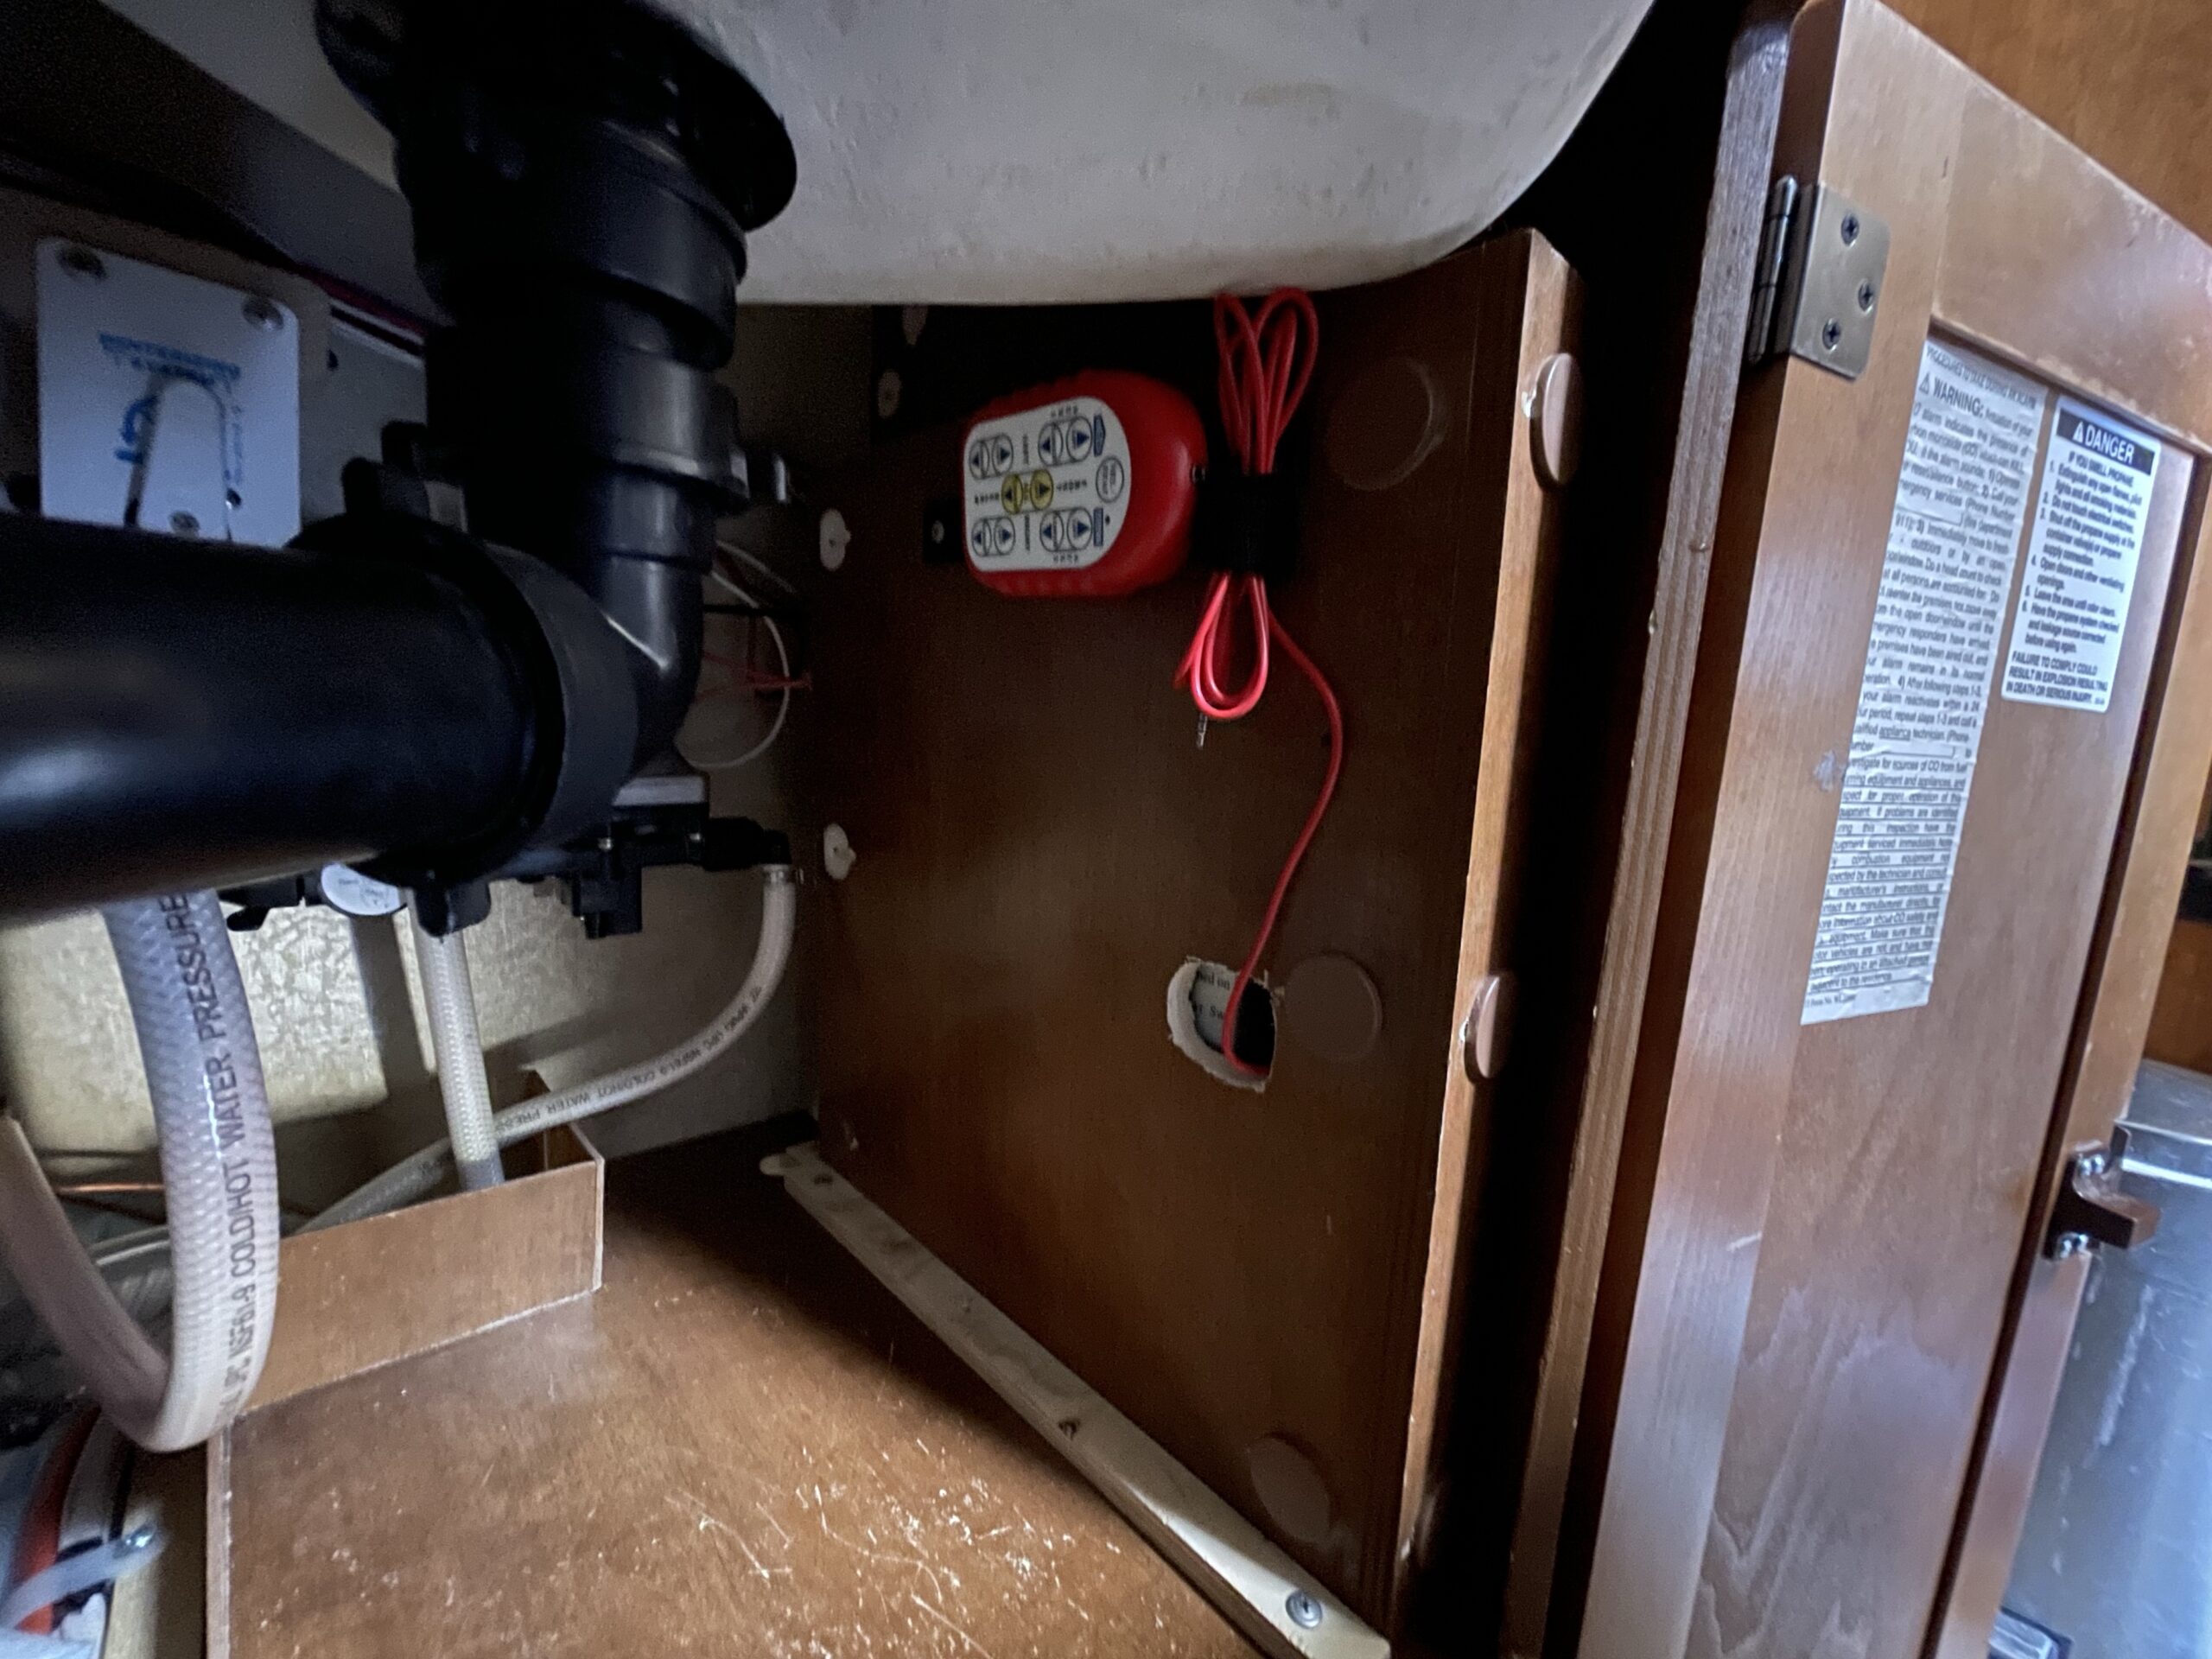
I routed the wires along the front of the step and up into the area under the sink where I mounted the controller, then put the cover back using a small cleat on the floor. I Velcroed the extra controller to the cover. The wire runs into a hole, which is large enough that we can flip the power switch to turn it on, just in case we wanted to close or open the slide when we are inside.
I’m still working on the big post about the rest of the electrical system. Obviously, there’s been quite a bit of work done since my solar panel install blog. It was a big job and it’s going to be a daunting blog post.
Some links may be affiliate links. I may earn from qualifying purchases at no additional cost to you.
Minnie’s Mommy is a participant in the Amazon Services LLC Associates Program, an affiliate advertising program designed to provide a means for sites to earn advertising fees by advertising and linking to Amazon.com.
