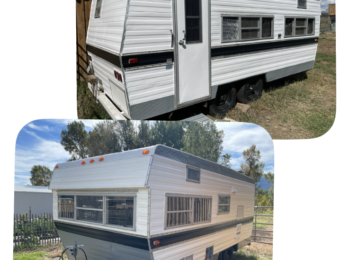
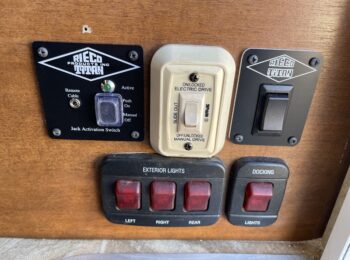
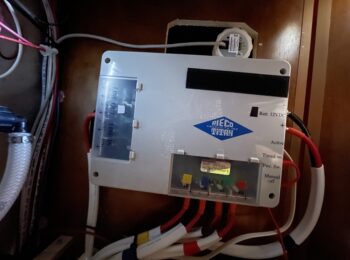
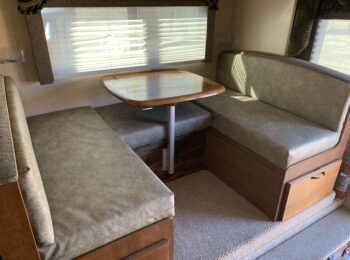
We have owned our “new” camper for about a year and a half now. We tend to be gone for weeks at a time and there is ALWAYS a new project when we get home. We have have decided that two lead acid batteries and one solar panel aren’t cutting it. After a TON of research and countless YouTube videos, not only am I cross-eyed, but I feel like I have a small grip on what needs to be done to allow us to spend more time unplugged and less time in RV parks and mooch-docking. But first, we needed to make sure the roof was ready.
To start off, I spent a ton of time on the roof, inspecting every seal and item up there. I am conquering my fear of heights! I do have to be extremely careful due to the neuropathy in my feet, caused by the chemotherapy treatments for breast cancer. I usually crawl and stay close to the middle while moving about and I am very careful while climbing and descending ladders. My balance has improved, but I do tend to trip and injure myself. Falling off the 10’6″ roof is not a good idea!
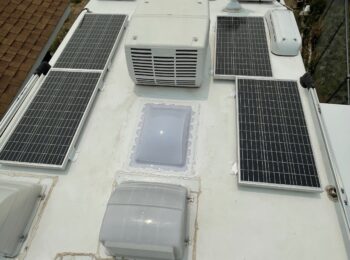
Unfortunately, I found that one of the skylights had a crack in it. I stuck a piece of Gorilla Tape on it and started looking for a pair of replacements since the shower skylight was also yellowed from age and I figured it was just a matter of time before it cracked too. I ordered FOUR skylights. The first two were Icon smoke-color and they might have ended up working, but they were not the same shape as the original. I have a tendency to leave my camera at ground level when I’m on the roof, so there are no pictures of the original cracked skylight, but here’s the replacement:
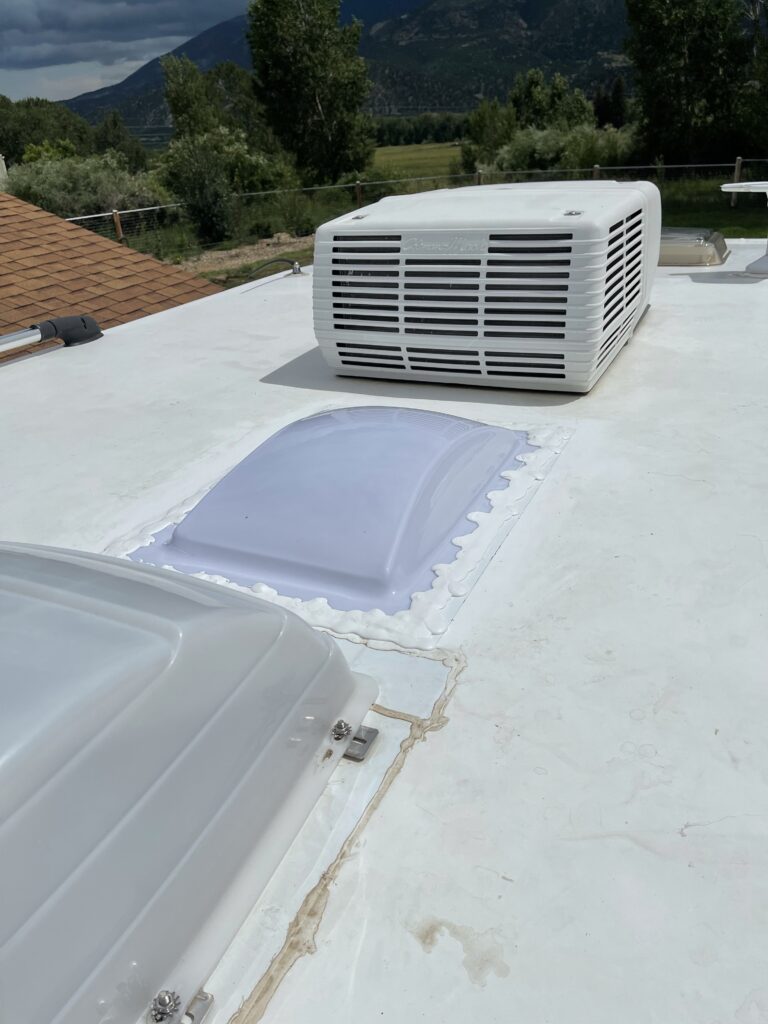
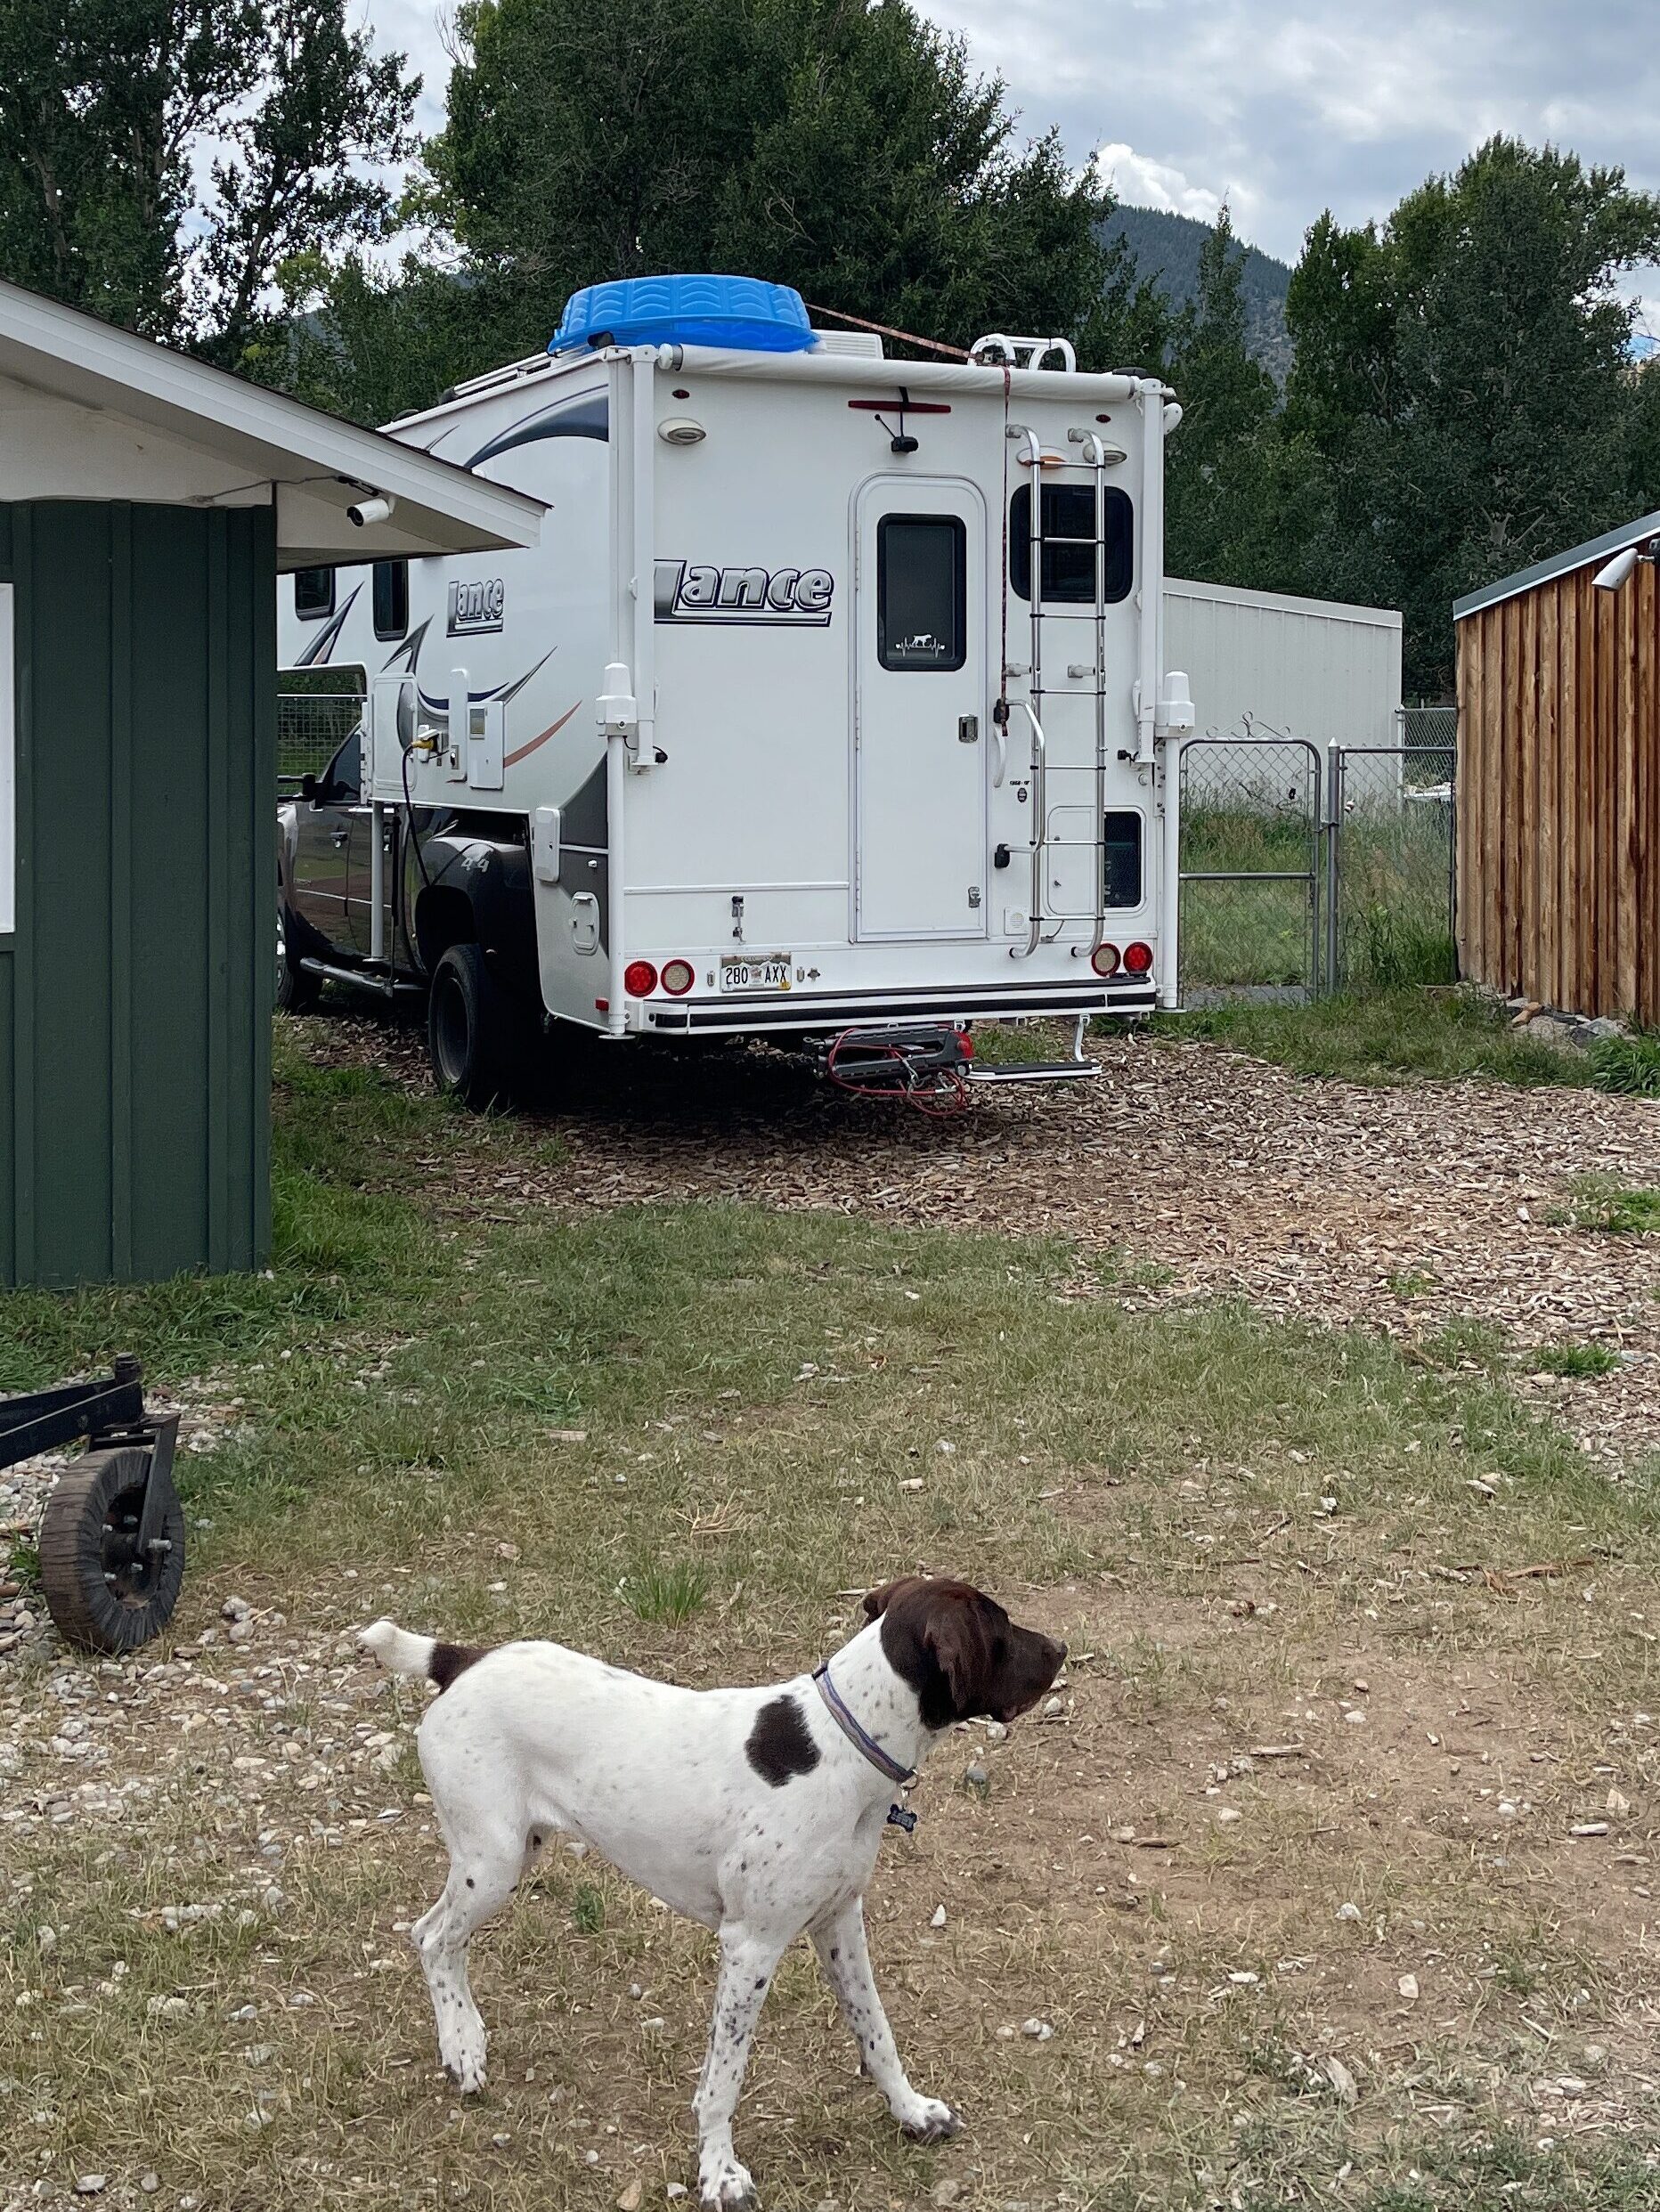
I used plastic trim removal tools to scrape up the original lap sealant, naphtha (which is a bootleg item in Colorado now, but we were lucky to find some in a local hardware store) to clean up the sticky, denatured alcohol to clean up the naphtha, Eternabond tape to cover up the holes that were left by the first skylight because, of course, the new holes didn’t line up with the old ones. I used Icon Skylight Sealant on the bottom of the new skylight lip and screwed the new skylight down with the old screws until the goop started squishing out, but didn’t crank them down hard so I wouldn’t crack anything. After adding a liberal amount of Dicor self-leveling lap sealant, I covered the skylight with the dogs’ kiddie pool to keep the impending rain off. They weren’t happy about losing the pool, but they did get it back.
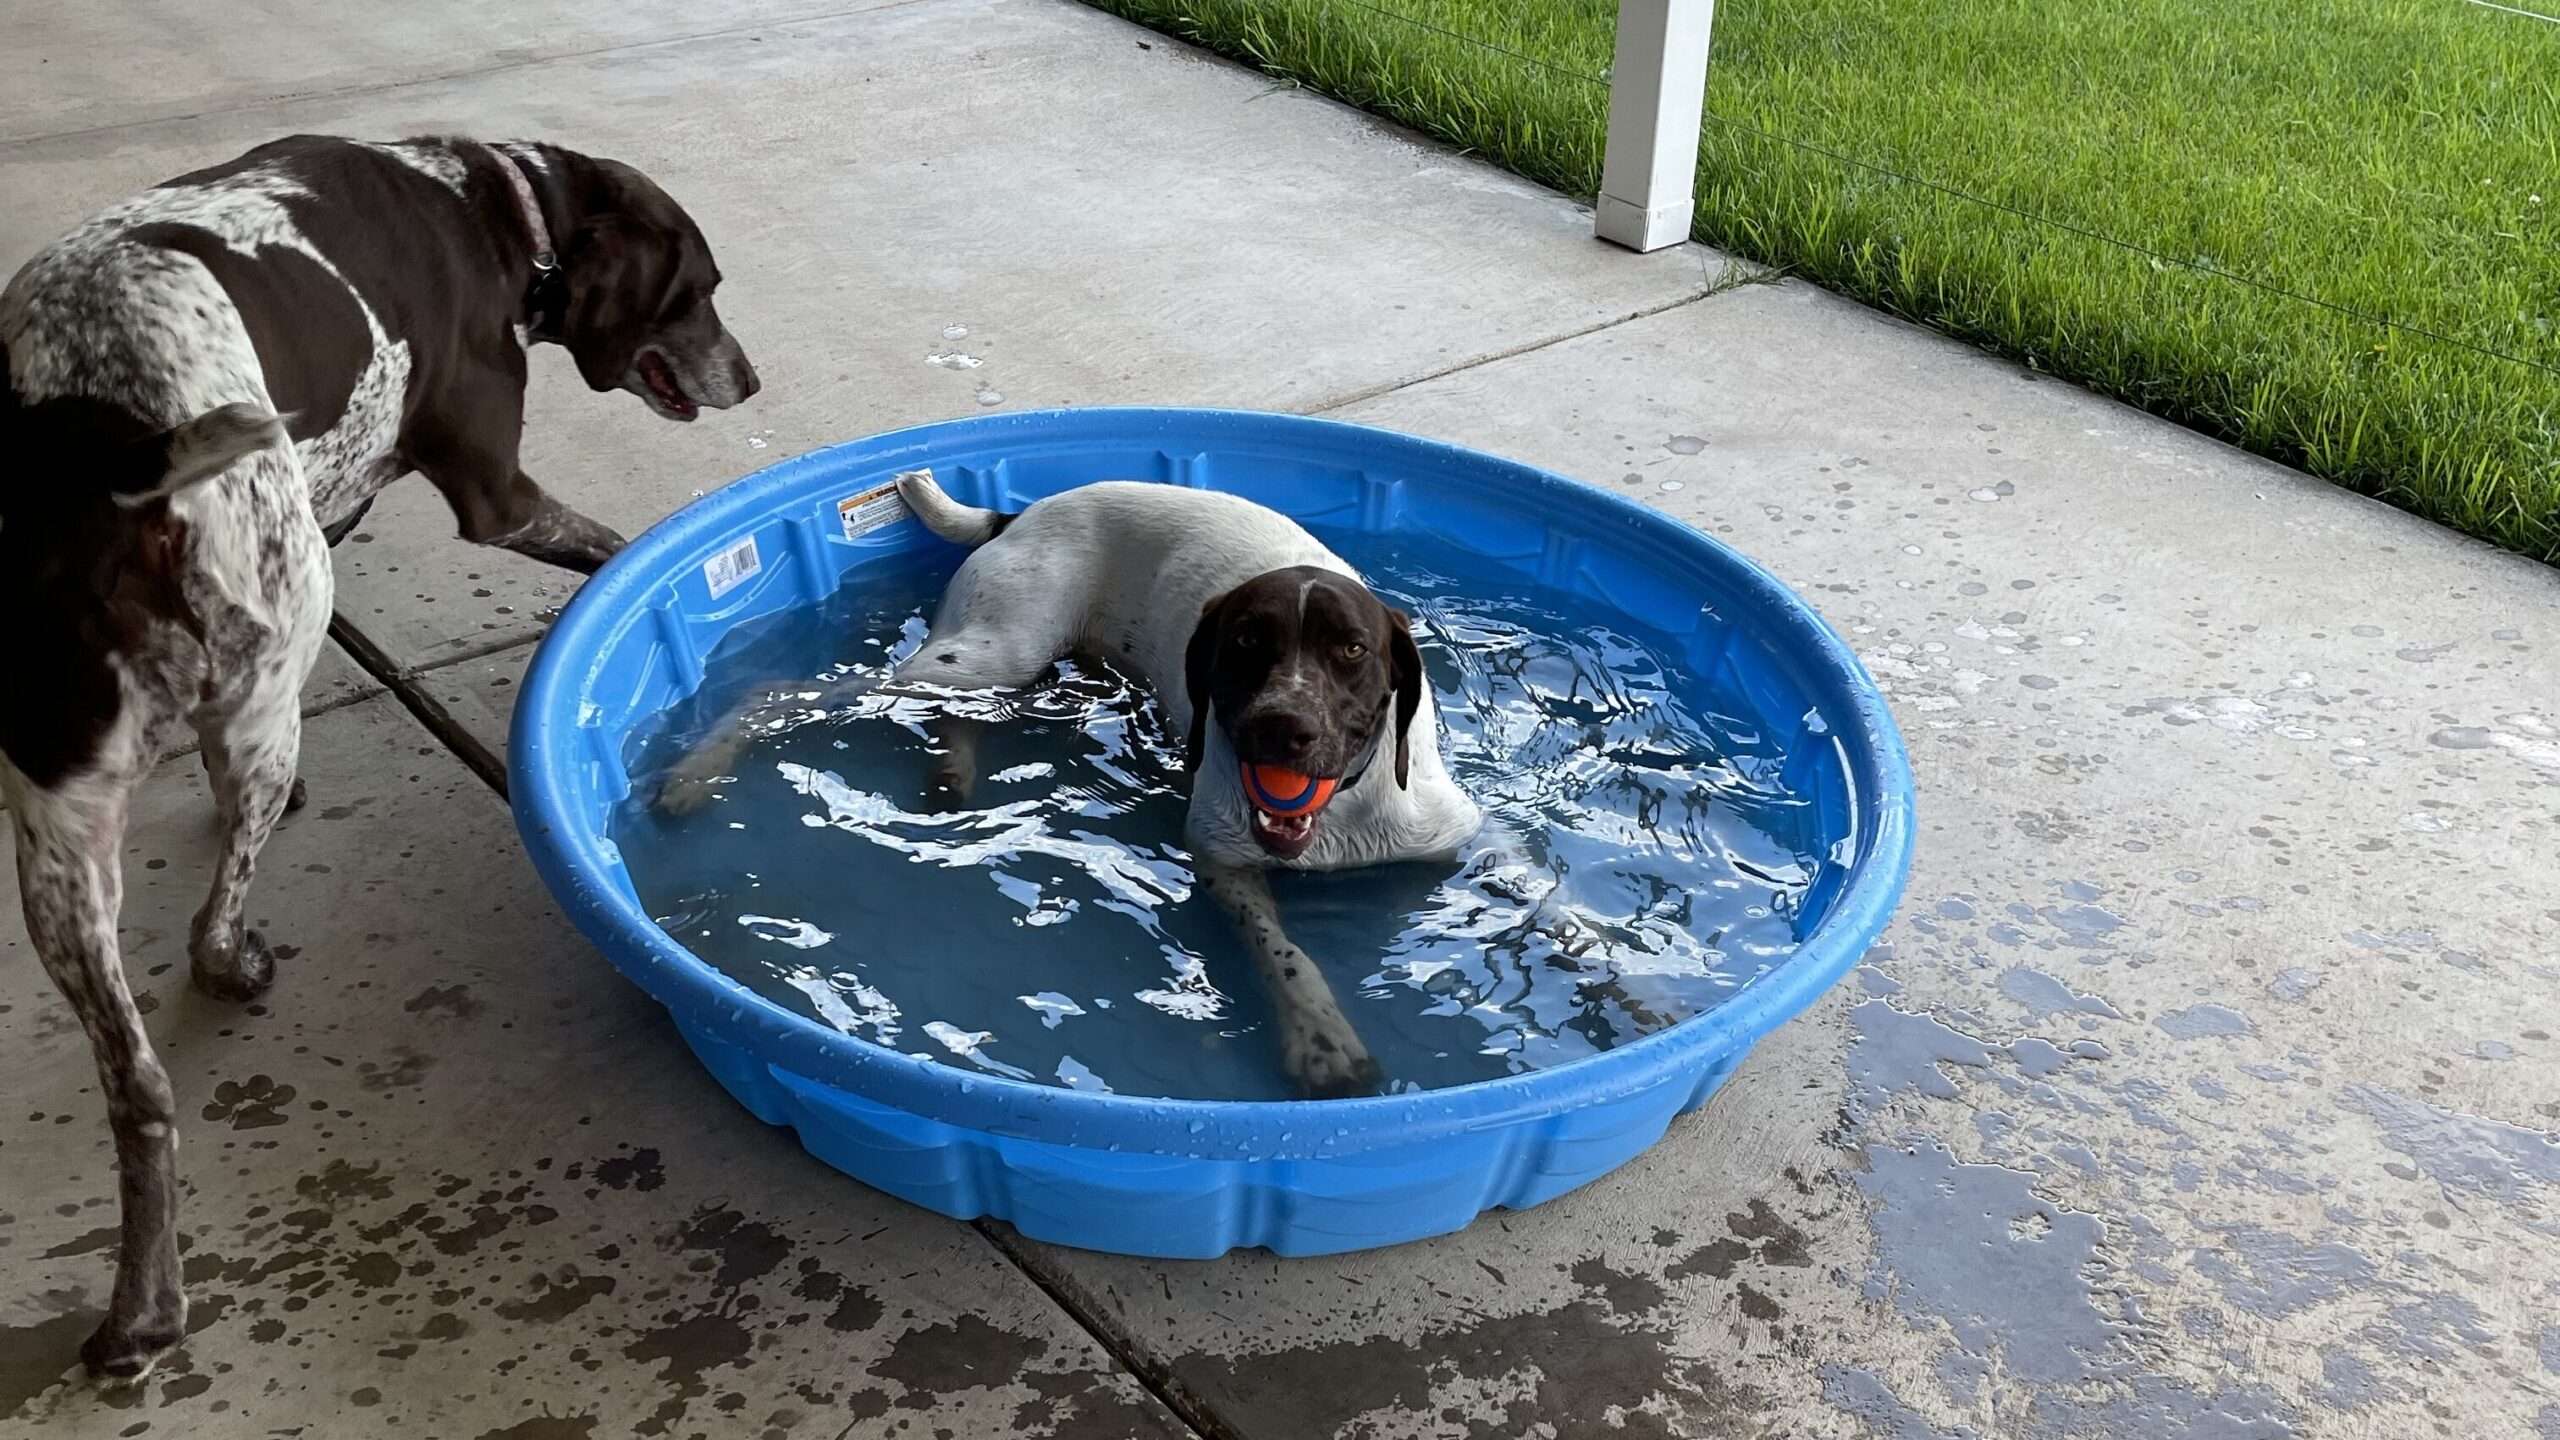
I waited a couple of days to do the second skylight. I was tired and sore after the first one and I knew I’d need the pool again because we had rain in the forecast. The second one was easier because I knew what to expect. This time I uncovered the screws first and just pried the skylight off and then scraped. I was lucky that both of the skylights were stuck down on wide butyl tape rather than silicone. I’ve heard that is much harder to remove. I repeated the process and was able to use the third skylight that I ordered but didn’t think it’d work until I tried it on the first one I replaced and realized that it would barely cover the interior trim piece. This one was from Recpro and was about $30 cheaper.
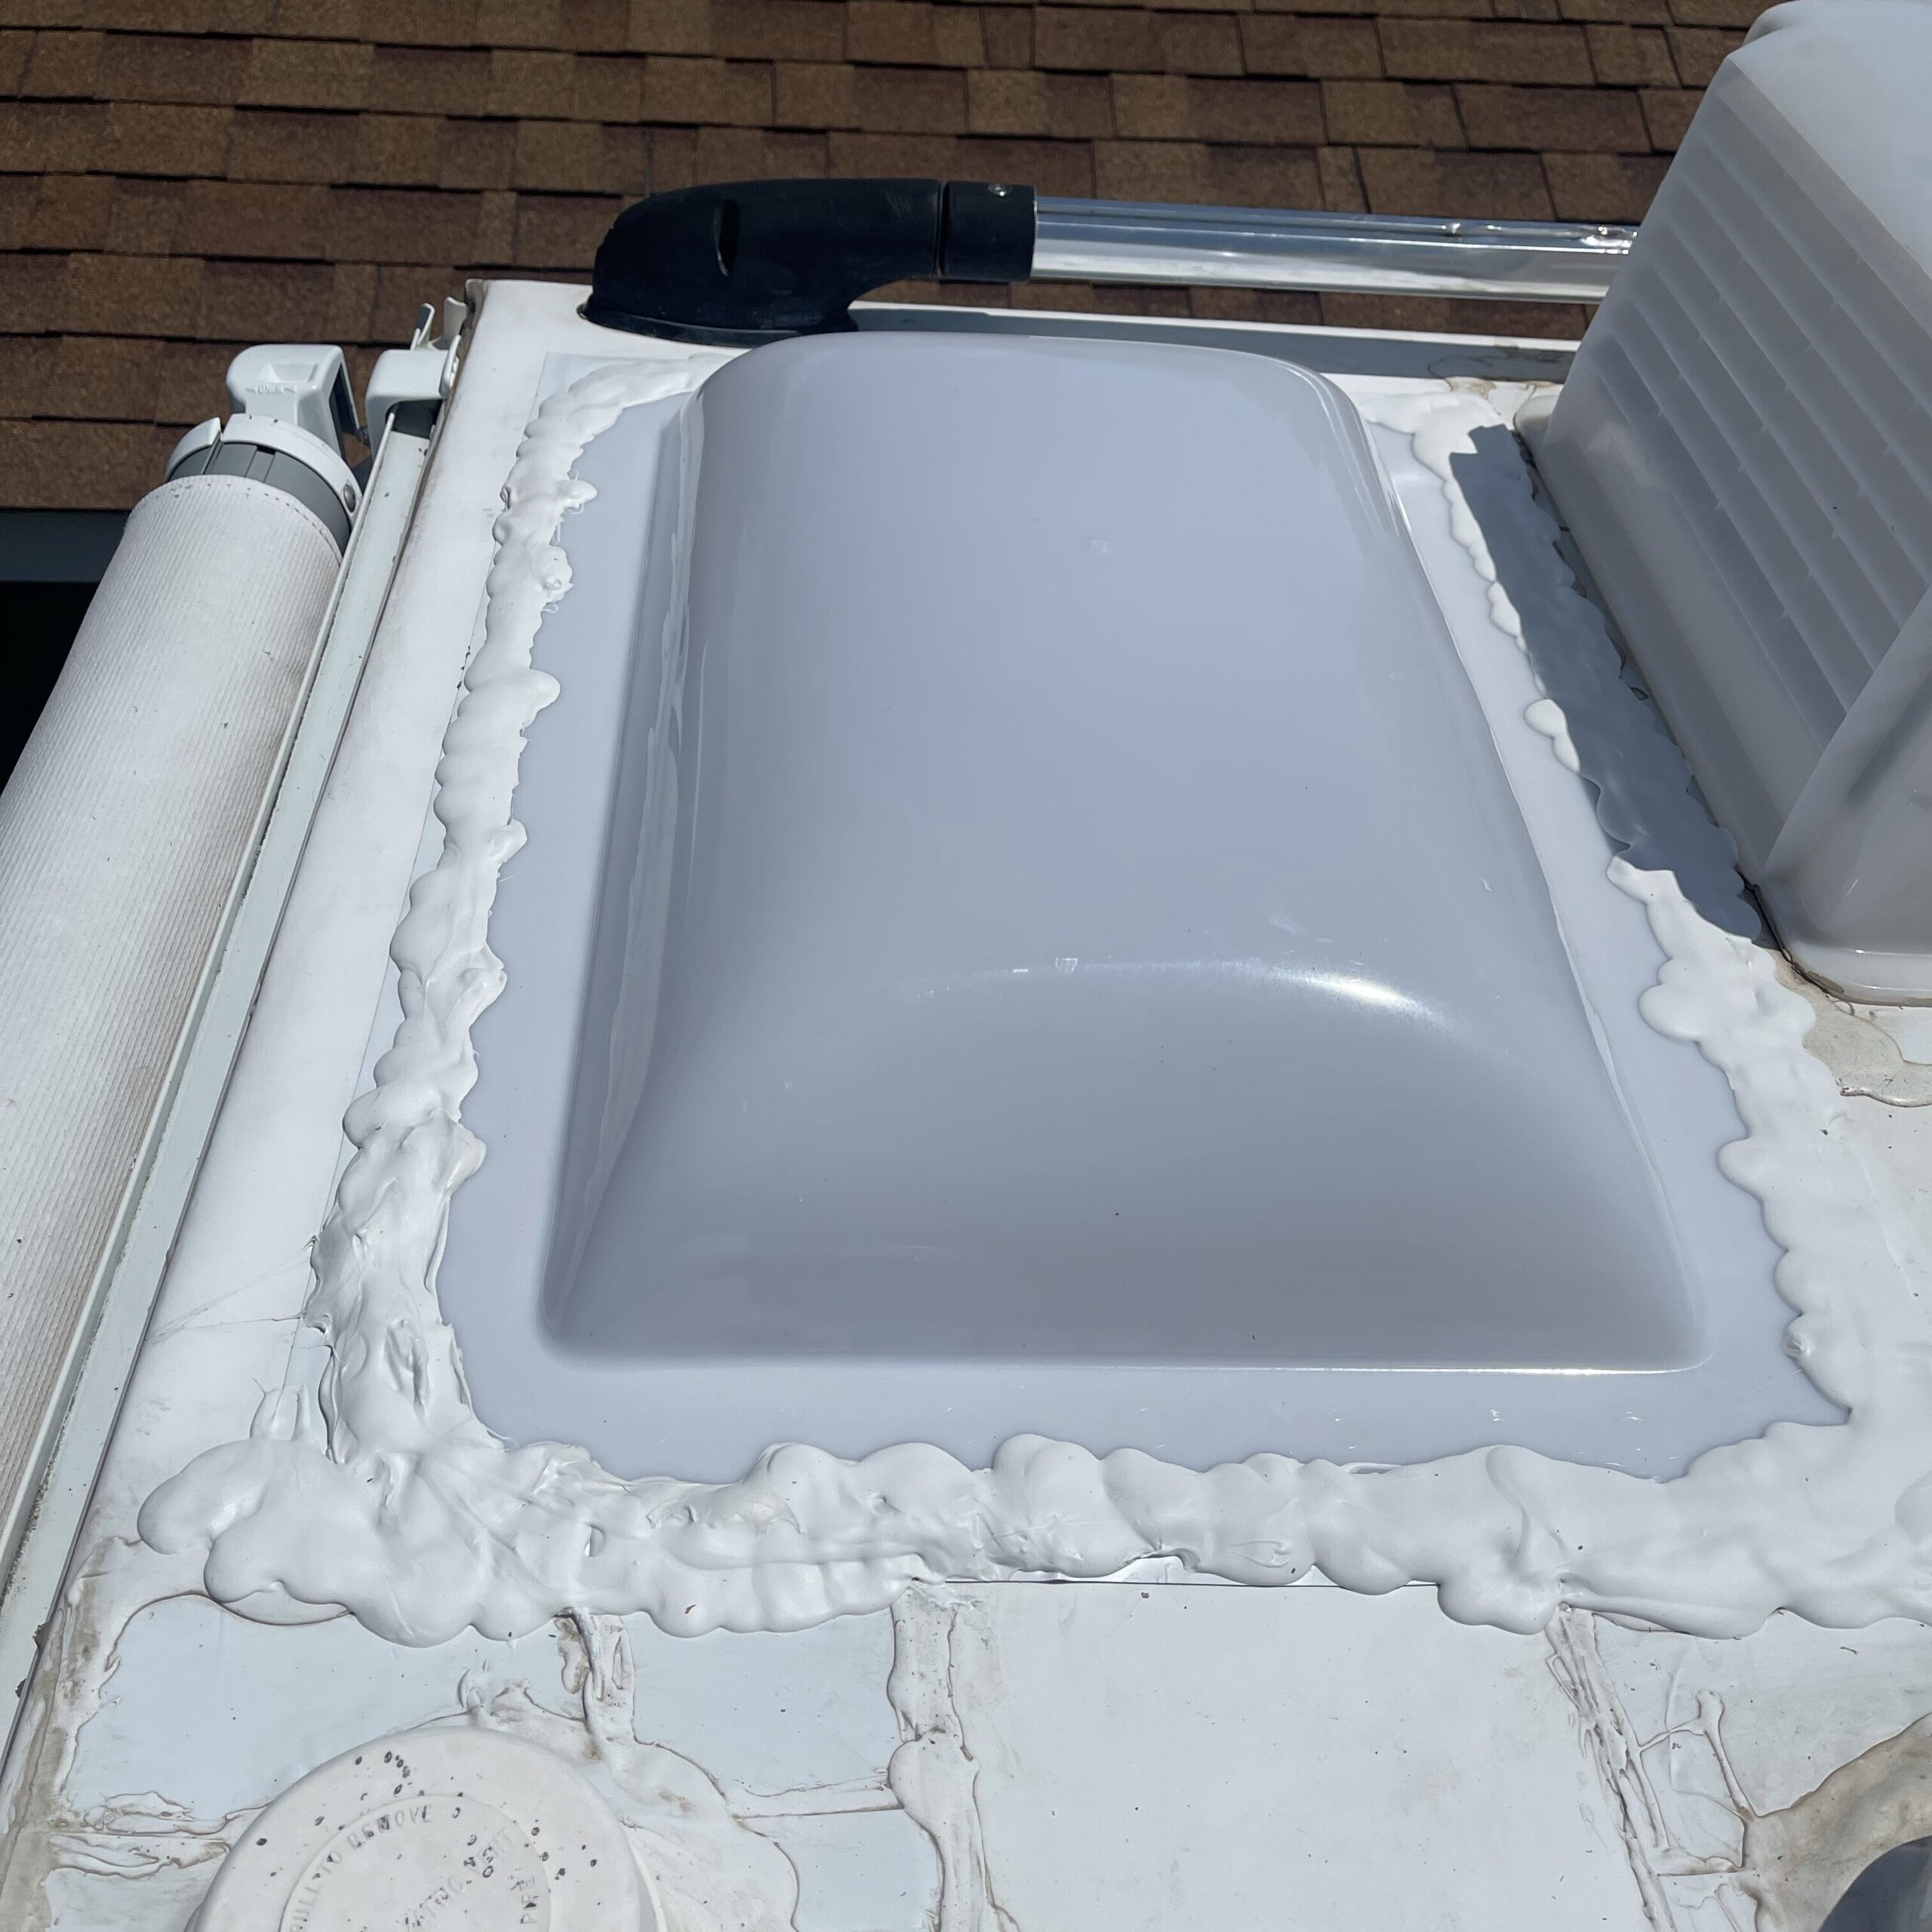
Time will tell how each holds up. I hope they last longer than the original two, as this camper is a 2014 and I’m pretty sure it was lightly used and was covered when they weren’t using it.
I also scrubbed the exterior withMeguiar’s M6732 Marine/RV One Step Compound, buzzed a few of the cracking decals off with a decal eraser, and went around the exterior seams with Geocel Proflex Rv Flexible Sealant.
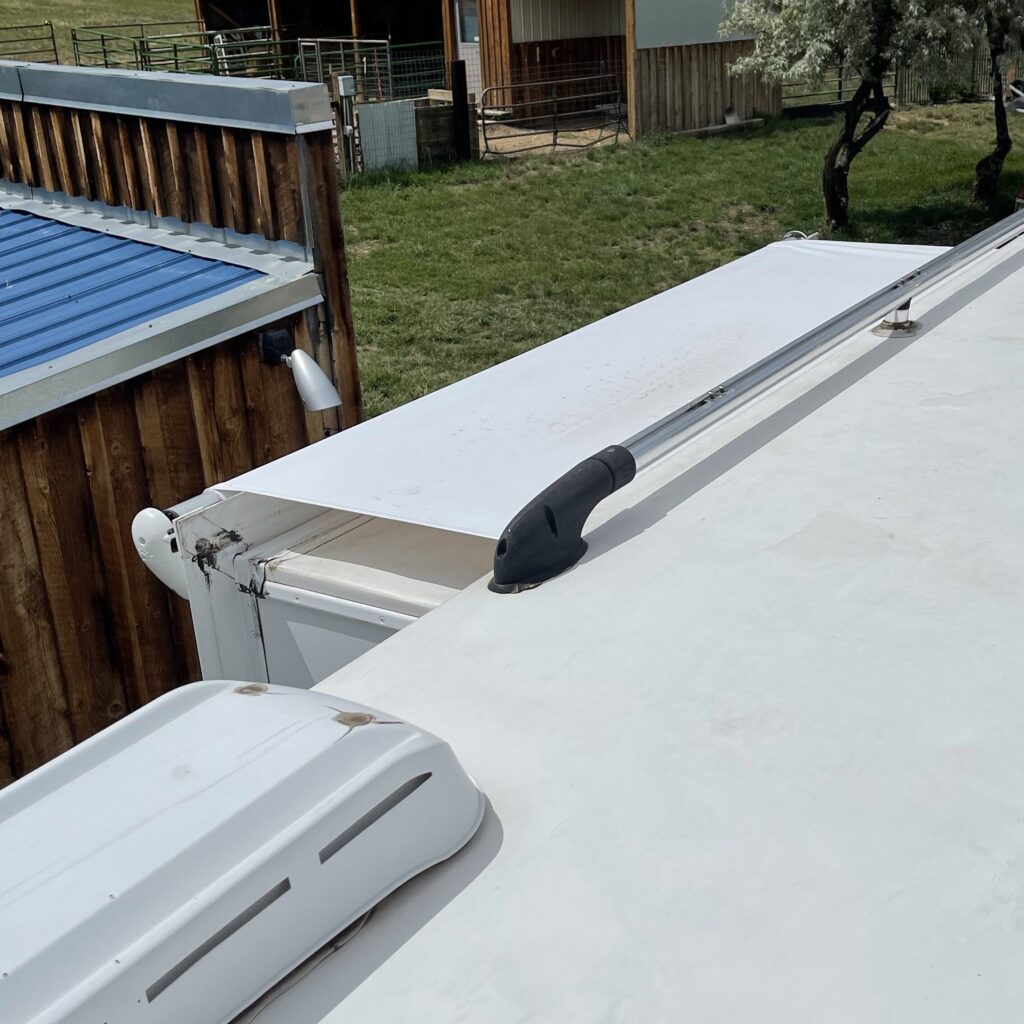
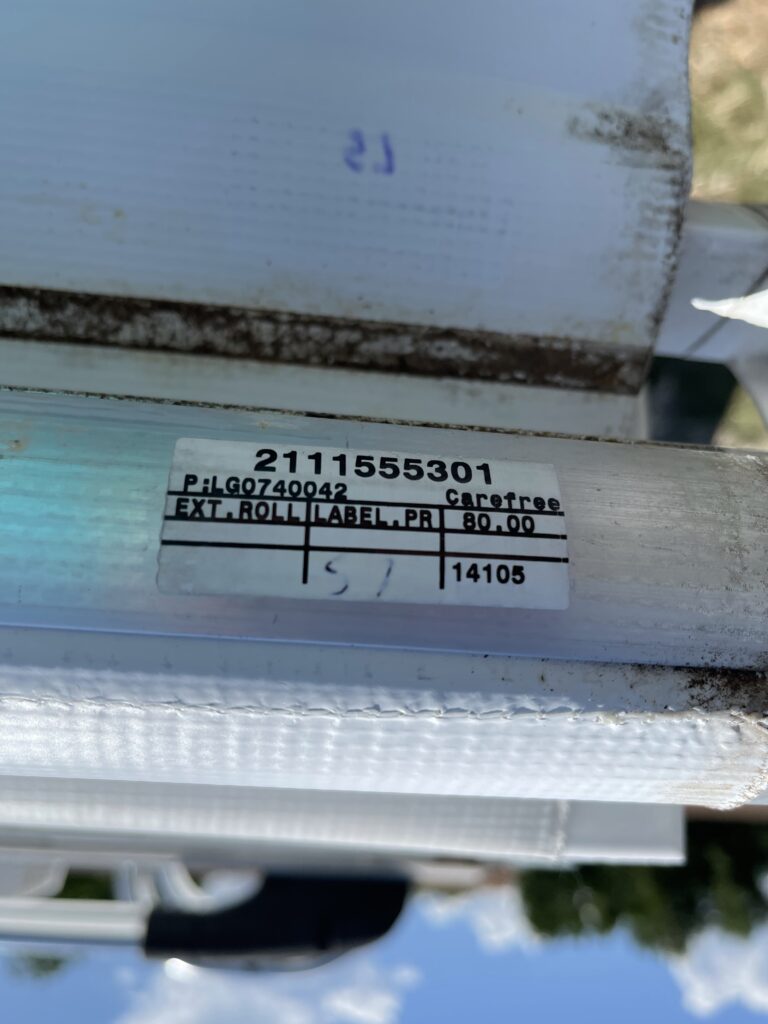
Another project involved the slide cover. It was shredding, so we replaced that too. It was actually significantly cheaper to order the cover from Amazon than directly from Carefree. In order to find out the replacement model number, you have to unroll the fabric and read the barcode on the roller. It’s kind of a pain.
Anyway, now that the roof repairs are done, we are going to start the exciting and nerve-wracking solar project! Watch for more as the pieces arrive!
Some links may be affiliate links. I may earn from qualifying purchases at no additional cost to you.
Minnie’s Mommy is a participant in the Amazon Services LLC Associates Program, an affiliate advertising program designed to provide a means for sites to earn advertising fees by advertising and linking to Amazon.com.
Minnie’s Mommy is a participant in the Wal-Mart.com USA, LLC Affiliate Marketing Program, an affiliate advertising program designed to provide a means for sites to earn advertising fees by advertising and linking to walmart.com.
